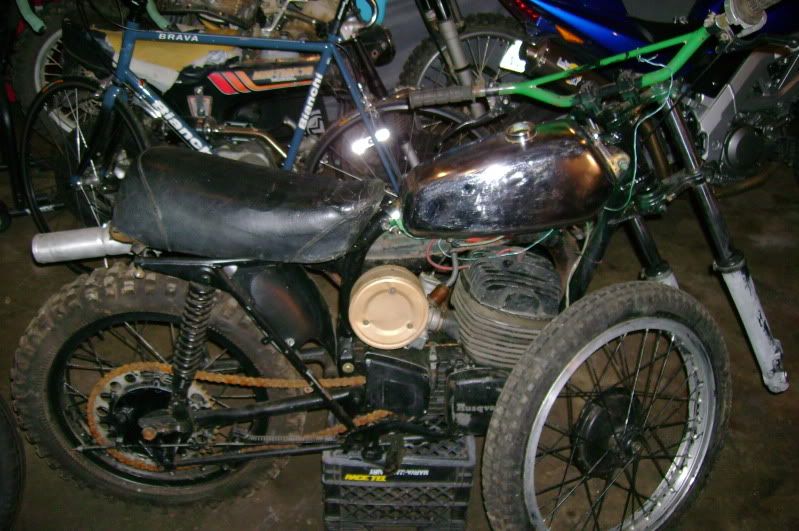
Before...
The past few months I had done some reading about the local vintage motocross scene (VMX) thought it would be something fun and cheap to get into. About a month ago I found myself with my old Suzuki DR350 finally sold and a wad of cash in my pocket looking at the motorcycle section of Craigslist and found something. It was a pair of vintage Husqvarnas, a 1972 CR400 and a 1979 CR250 to be exact, with a lot of spare parts to boot for $650, being that I had just sold the DR350 for $850 I almost just jumped on this. I tried to play it smart, I did some research online about parts availability and the the like, half figuring when I was done a couple hours later the bikes would be gone and I could use my money for something smarter. Alas when I called they were still there and didn't sound too bad, I mean one had been painted with house paint and the other the motor was totally torn down and in a box. Anyways I drive up to Seattle and buy this pair and all the spares feeling pretty good about it and with a truck full of new to be bikes and parts. At this point I now had the basic fixings for both a vintage mx bike and an evo mx bike.
As with any "cheap" bike, buying them was the only cheap and easy part. Shortly after getting the bikes into the garage I tore the CR400 down to start to clean it up. Someone in the bike's past for some reason thought it would be cool to paint the bike black with house paint. Now I have spray bombed my share of bikes, but I also take them apart first. Who ever did this did not do that at all, everything had black paint on it, the tires, forks, and most of the hardware. Even cleaning up any rust was too much to do, as I have pictures showing on the rear shocks. Anyways I decided since it was too cold to paint in the garage and I did not have much fun painting a frame last time I was going to send this out for powdercoating. After having the bike sitting around stripped down for a few weeks I welded up a hole that had been drilled into the backbone of the frame and dragged it off the the powdercoater's. I had no idea how nice it would turn out, I am sure the poor condition of frame when I bought it really made the change seem larger than it would have on a better looking specimen.
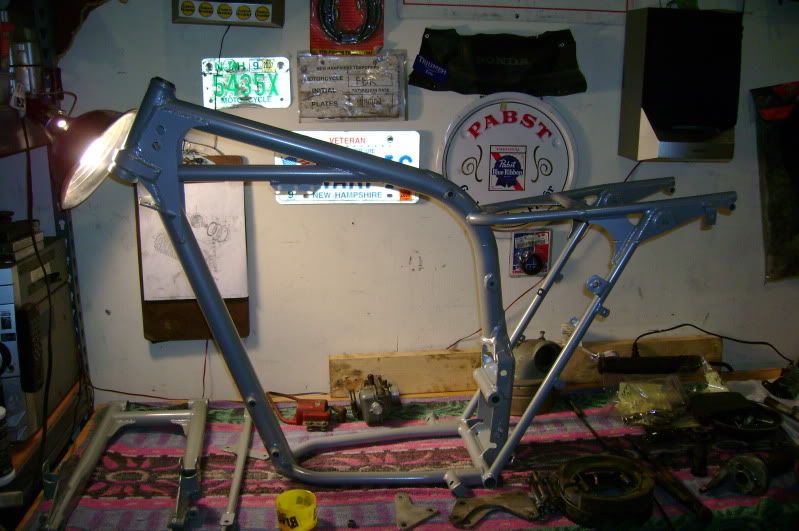
Frame fresh back from powdercoating...
While the frame was gone I started to order parts. This I will admit was a bit painfull on the wallet, but you have to pay to play at the end of the day so calls were made and parts were shipped out to me.
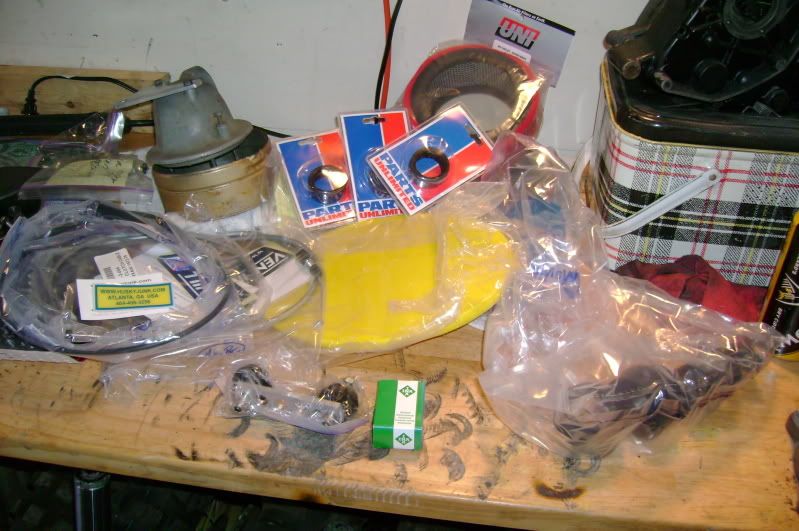
Sorta like X-mas, but I paid for it...
Since I wasted a few weeks figuring out what I was going to do or if I was going to put this whole mess on the back burner I was down to about two weeks before the next race. I really wanted to be able to do this race since if I missed it I would not be able to race enough to qualify for the championship, silly goal but I do work better under deadlines too. Anyway it was time to strip and either paint or leave in raw aluminum the parts that did not get powdercoated, namely the triple trees, fork tubes, brake backing plates, rear brake lever, and the rear shocks. The rear shocks are going to be replaced at some point down the road with Works Performance units, but time and funds did not allow for that to happen yet.
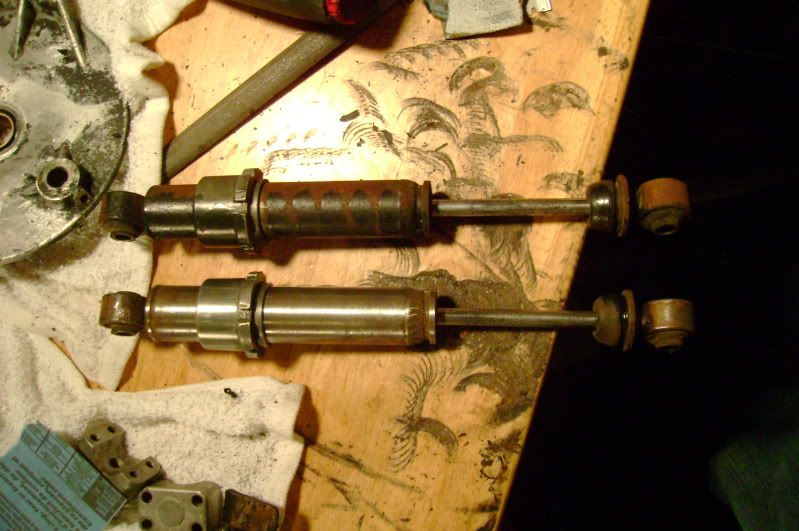
Before and after wirewheeling.

The only tool to polish a turd with.
With the odds and ends painted the frame started getting all of its parts put back on. The motor was put back in while the frame was still on the workbench. The swingarm was upgraded from rubber bushings to roller bearings (not fun at all to do) and that was mounted up with the freshly painted shocks. The forks were going to get new seals, but the caps did not want to come off so just the oil was changed, the seals seem to be holding ok so I am not too worried at the moment. At this point the bike was back down on a milkcrate and actually looking a lot like a motorcycle again rather than just a pile of really old parts. It was also down to the final crunch time, race day was less than a week away. This lack of time meant ordering parts was out of the question and it was time to find stuff in the garage or locally.
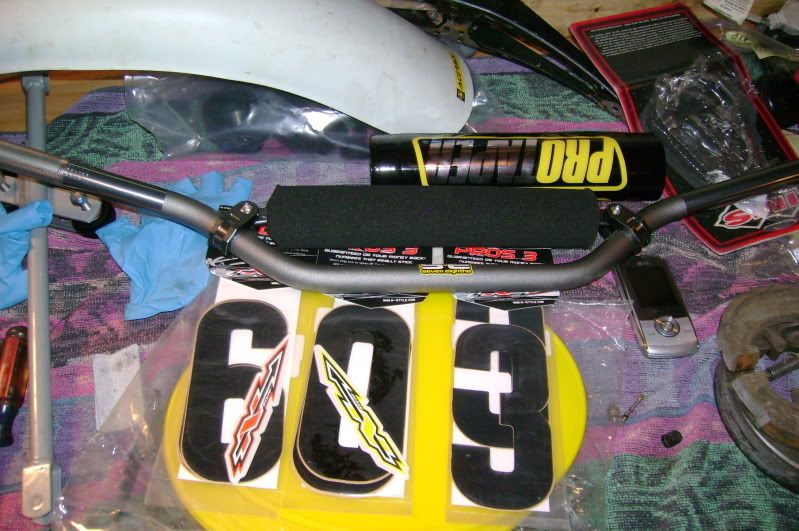
Next batch of parts.
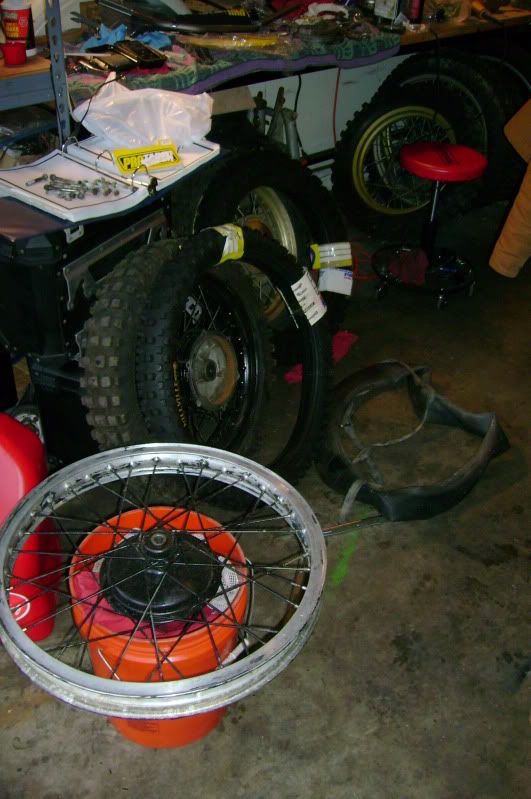
And new rubber too.
Changing the tires was about as much fun as I figured it would be. The front didn't fight me too much, but 21" tires never seem to be that bad. The rear on the other hand had to be cut off the rim.
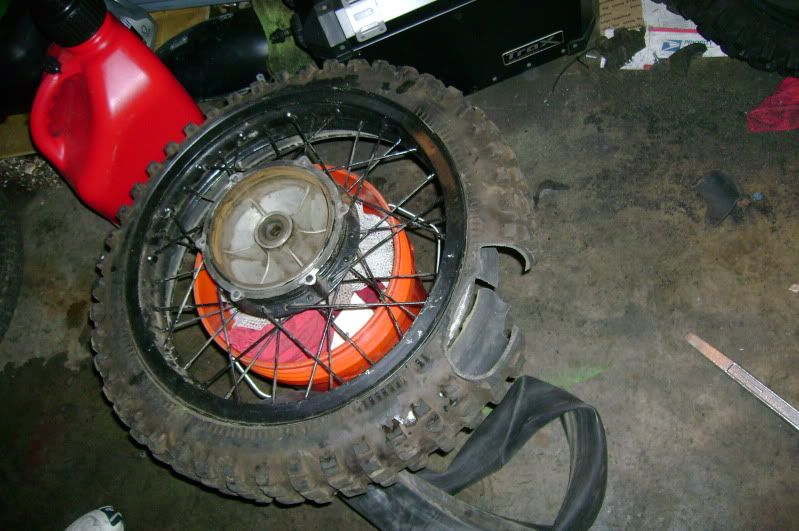
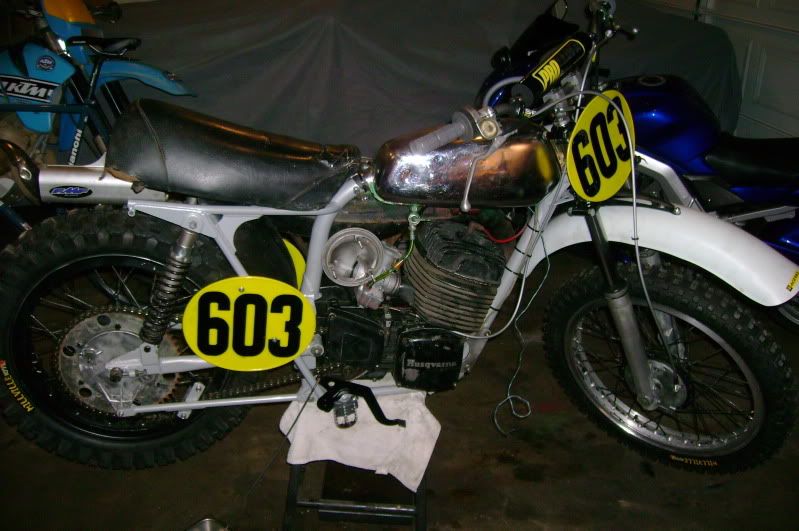
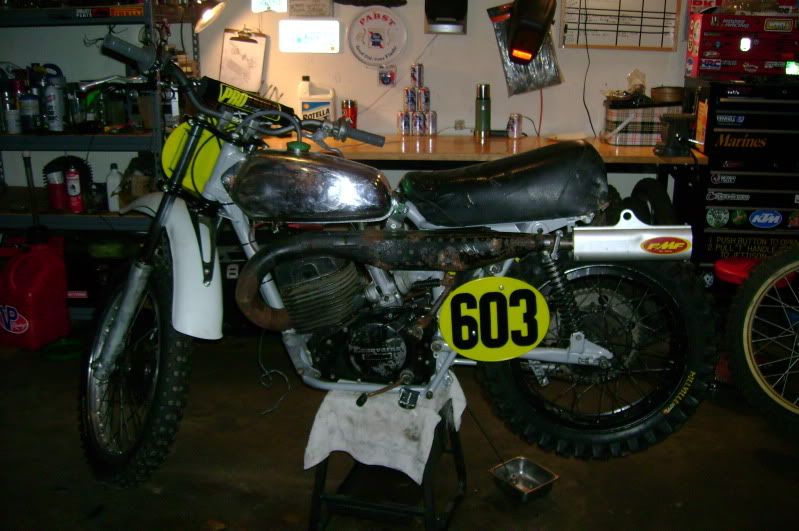
With the tires changed the brakes assemblies were put back together and the wheels were mounted onto the bike. I found out that with fresh rubber the milkcrate was too short to use as a bike stand, so my KTM ended up giving up its perch for the Husky to sit on. A silencer was also fabbed up to work, my buddy Dave donated an old FMF unit off of his RMX250 that after a bit of cutting and welding I was able to make work.
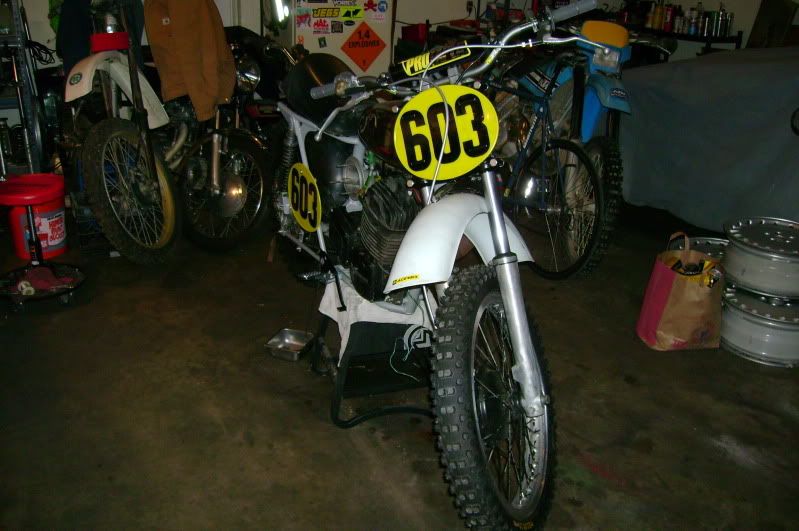
Now since it is getting really late and I don't have many more pictures left I will wrap this up. I hooked up the rest of the little odds and ends and after a lot of kicking the bike started. I am hoping to test ride it a bit on Friday (so later today I guess after I sleep). On the next one I will try to remember to take more pictures. With this build ending up being more of a crazy push to finish and 8-10 hour days in the garage after I got home from work I slipped a bit this time. I will leave this with the after pictures, there are still a few things I have left to do as can be seen in the pictures, but it runs and looks way better than when I started.
No comments:
Post a Comment