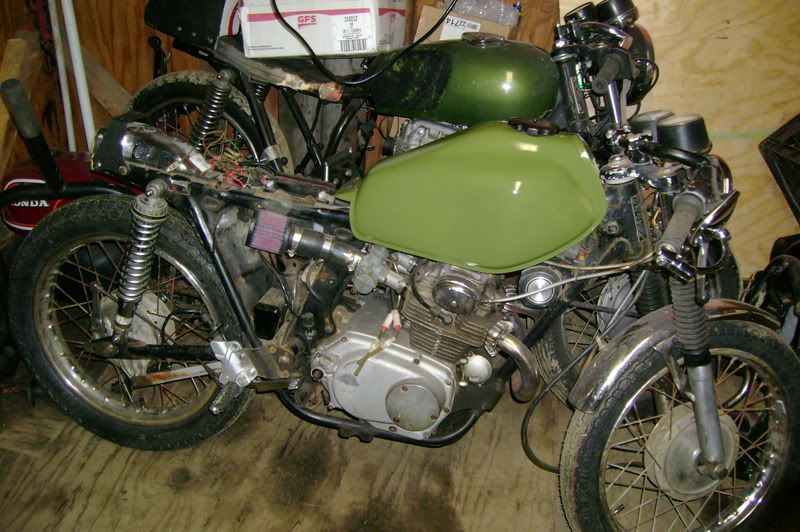
Part One:
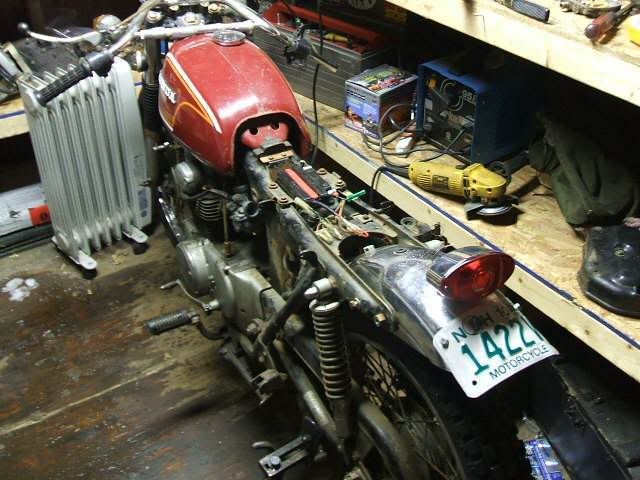
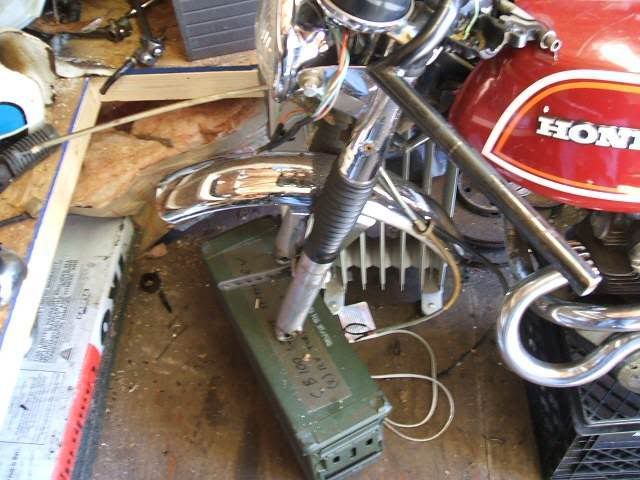
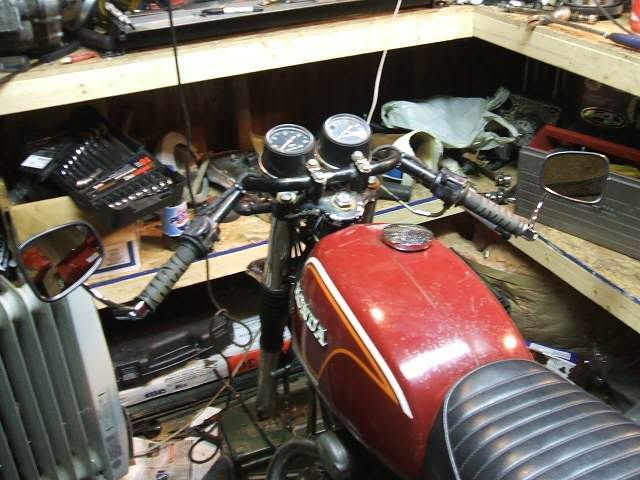
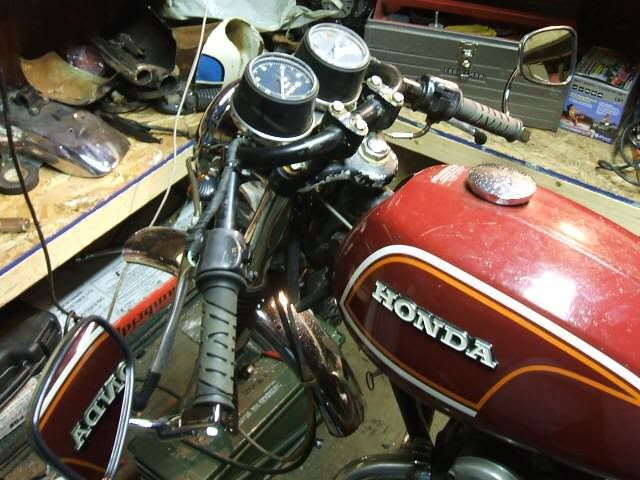
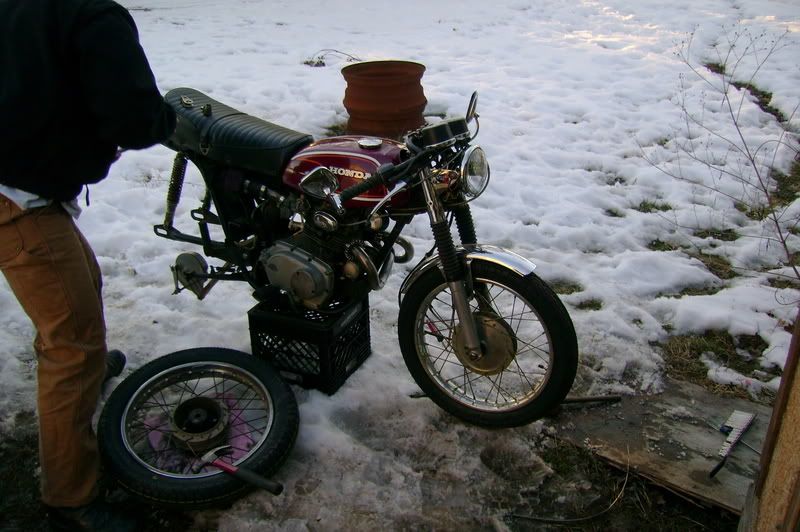
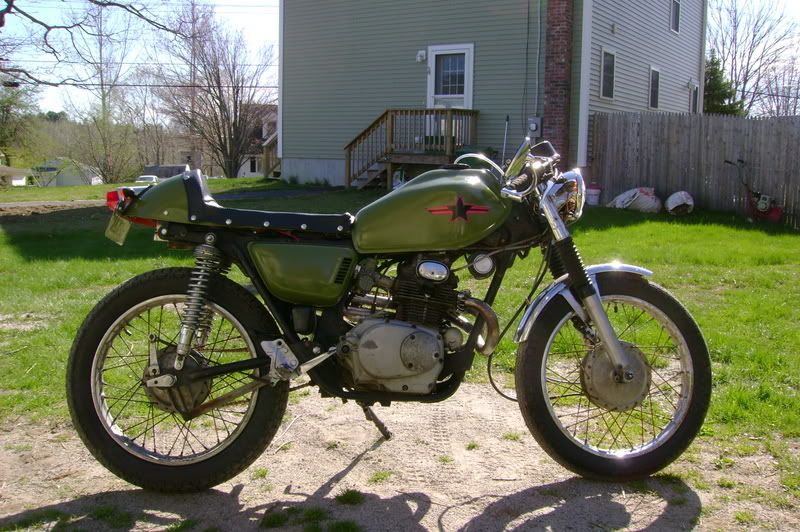
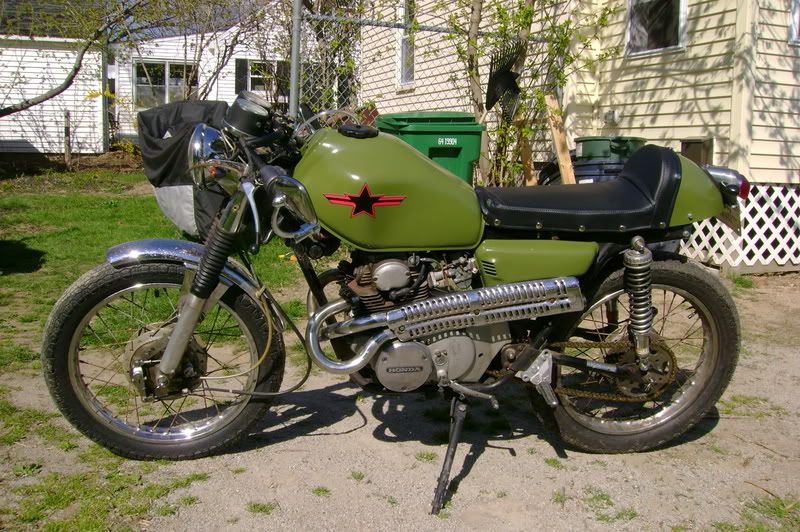
My 1978 Honda Mini-Trail 70 has had the best I can figure a long a tough life. As you will see later in this report the toll of neglect of past owners will show, but the bike played true to Honda reputation and kept running, I can honestly say I know why this is the most produced motor (the Cub 50 / XR50 / Z50 / CT70 / XR50 ect) in the world. The odometer reads close to 4,000 miles and the speedo cable was broken for an unknown amount of time. Many of you here have rode this fine machine since I have owned it and have learned to deal with adjusting the choke depending on the RPM range you were riding. When I acquired this bike many years ago I knew it needed work, but filling its roll as a play bike (read: drinking beers in the backyard with some friends) it was always at the bottom of the list of things to spend money on. I finally put it on a milk crate and said it was time to get the bike back to 100%, I am more than a bit embarrassed after what I have found to have put it off this long...

Milkcrate time
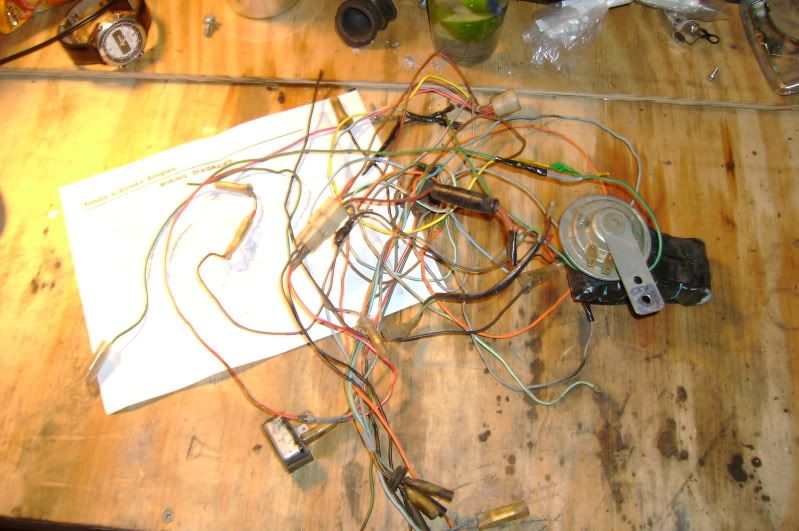
I had pulled the bike into the living room over the winter to rewire it, it ended up sitting on a milk crate for months with the wiring loom hanging from the handle bar. I have managed to take the wiring harness form this:

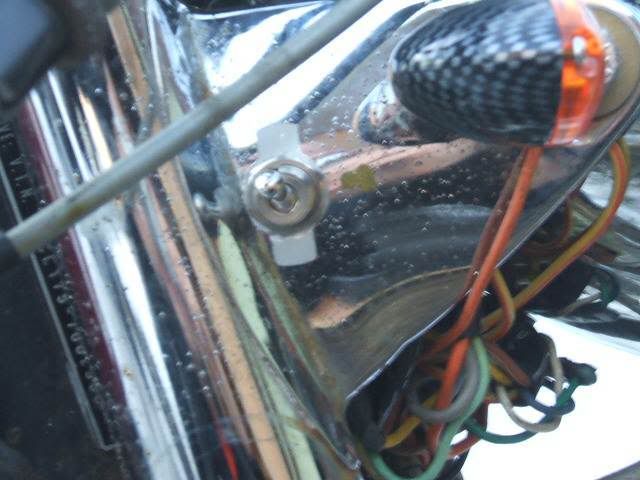
The unrapped stock harness.
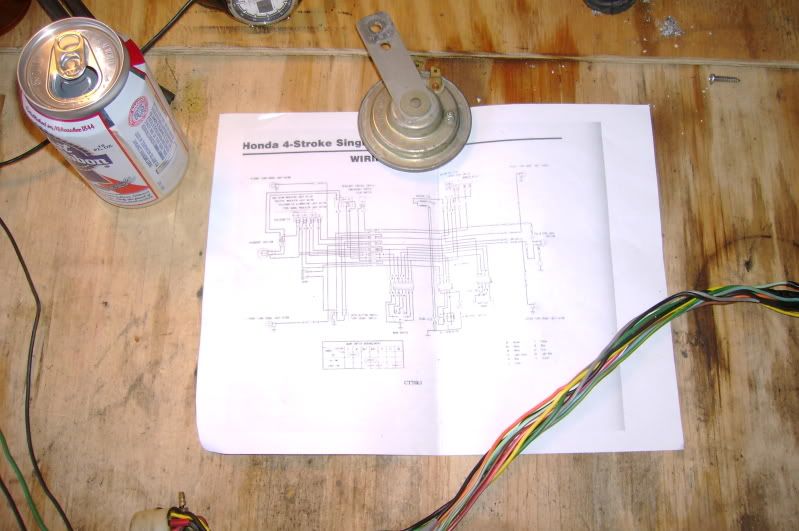
A view of the wiring diagram.
This is what was left on the bench:
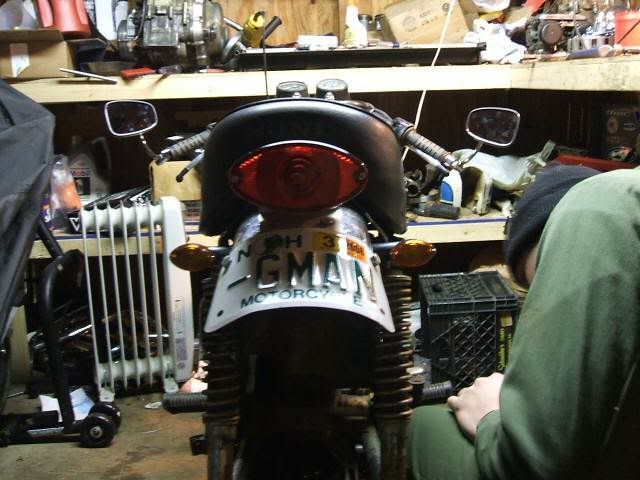
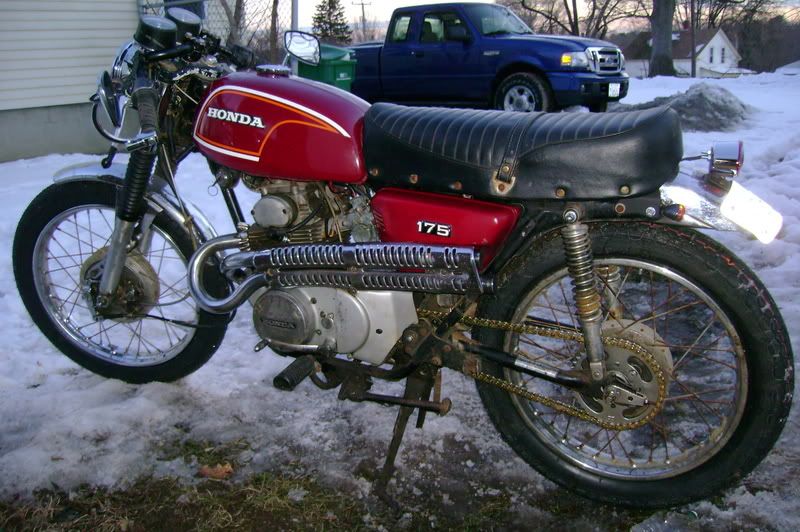
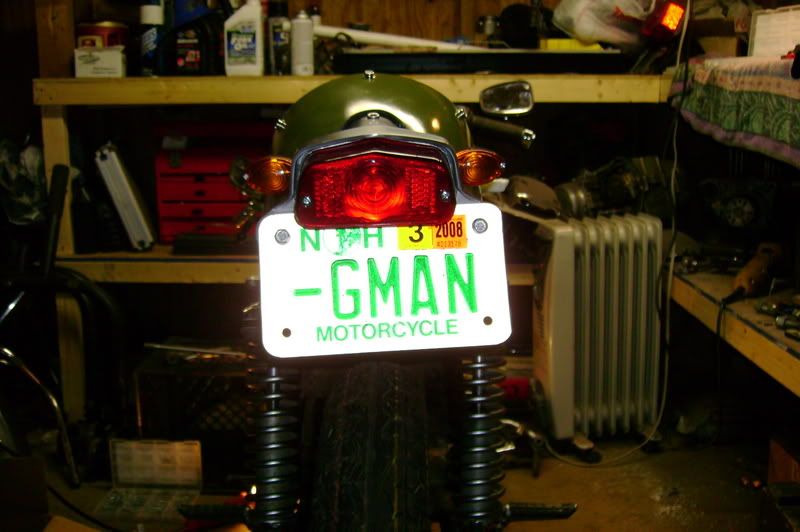
The bike stock was set up to be street legal, full lights, I have no plans of it ever leaving the yard so that all went into the bin. The wiring it pretty much a total loss system with a kill switch. I did a quick test ride to make sure the streamlined wiring harness worked without any issues.
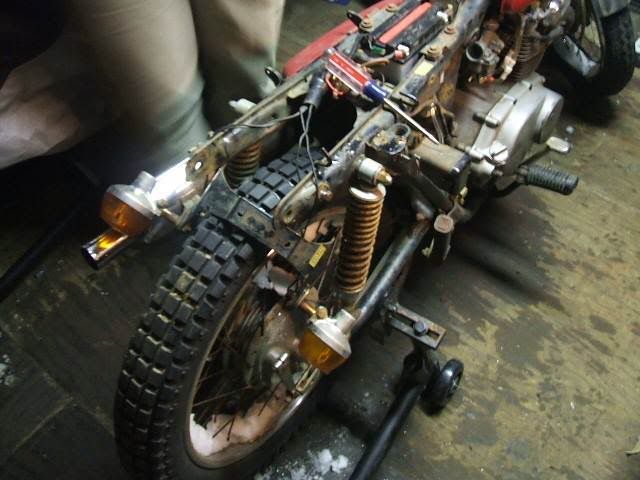
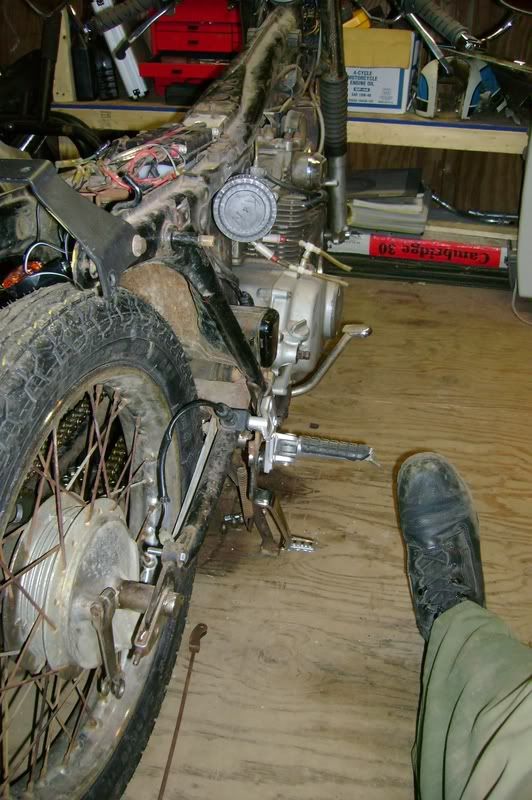
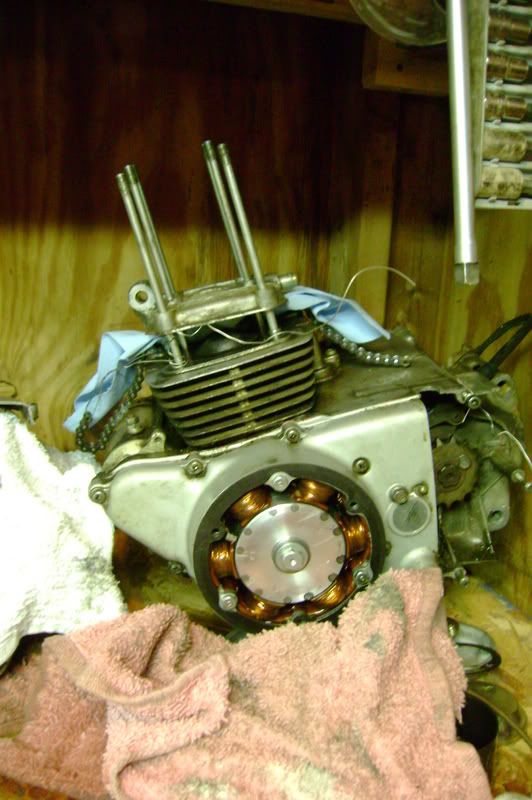
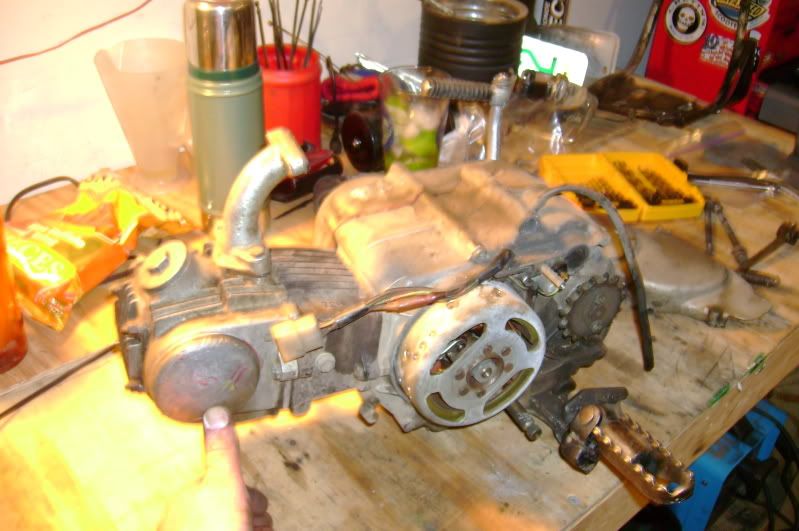
Now that the electrical issues were sorted it was time for the motor, and I knew there might be things found here. I pull the motor out to get in on the bench and check the topend. I know I could do that in frame, but depending on what I find a total rebuild might be called for as this is a bike that has lead a long and largely unknown life.

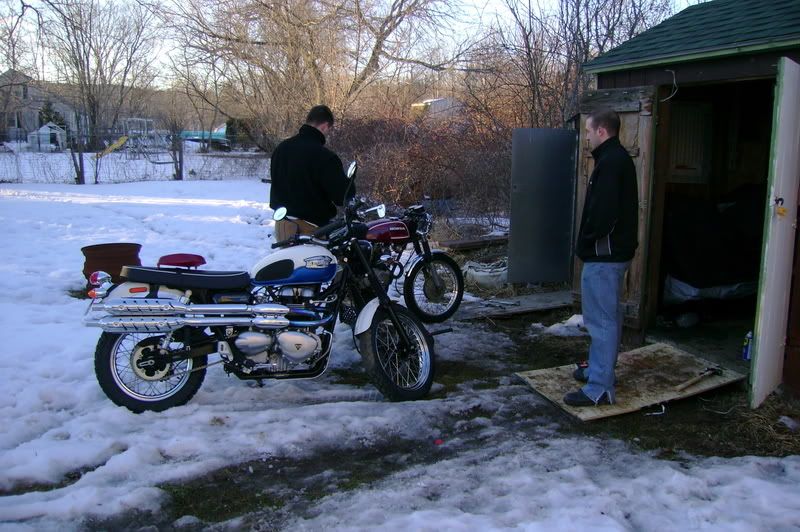
The more I look at this picture the DR and KTM seem to be looking at the ripped apart CT70 with the CB is looking away.
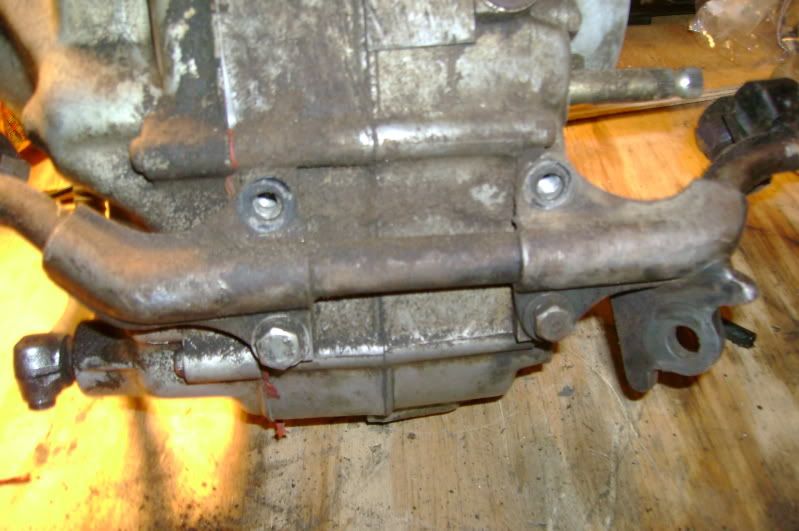
When I went to pull the motor I found out that one of the two motor mount bolts was missing its nuts, the bent bolt was just unable to back out more. Finding stuff like that make me feel like a bad motorcycle owner, I have noted it to myself to do better pre-ride inspections on all of my bikes.

Bent bits...
With the motor on the bench it was time to scrub off as much of the dirt and stuff as I could, a few drinks later I was ready to crack her open. My garage isn't the first place I would thing of for open heart surgery but it would do. Oddly enough this was the first motor I felt bad about not cleaning more, I think I'm just getting older many before this one have been much dirtier. Before opening the motor up I found more bad things...
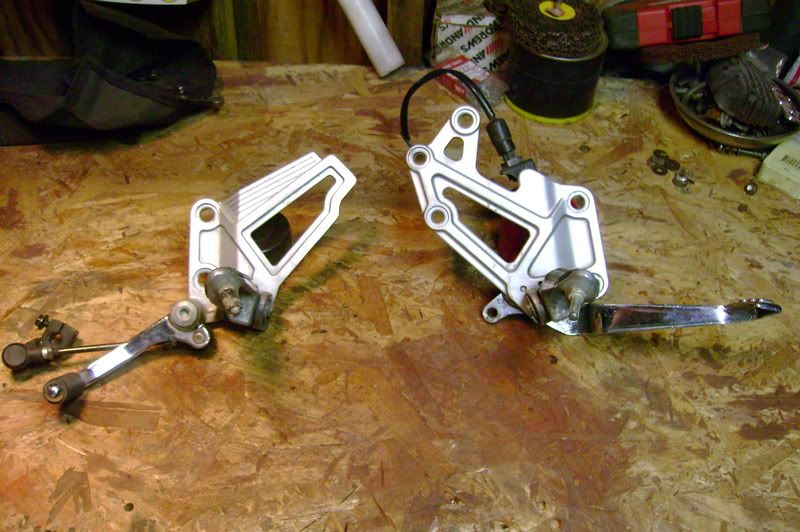
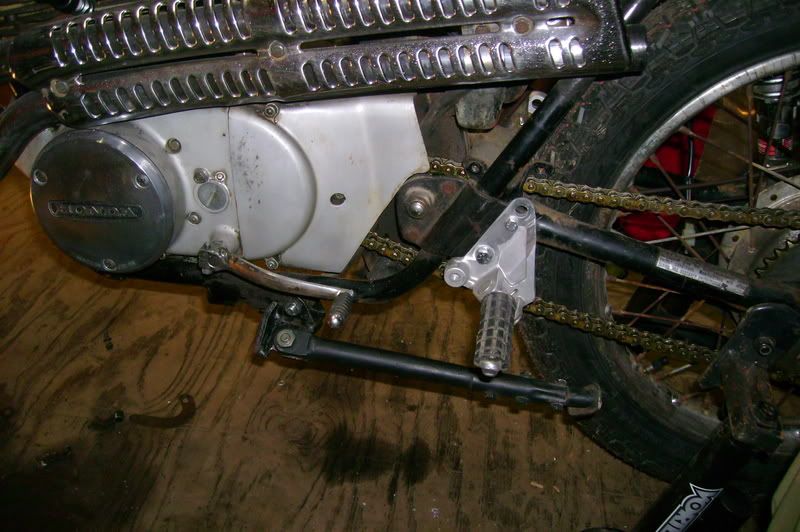
Half of the hardware for the pegs missing, and the are both different sizes...
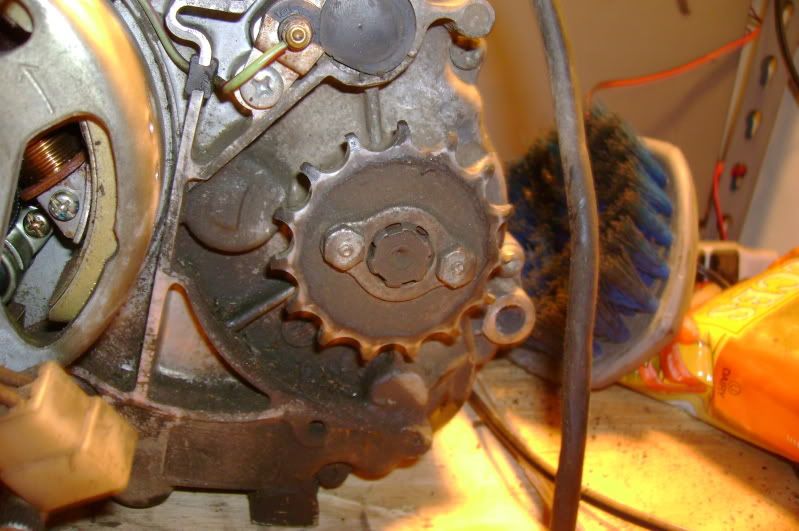
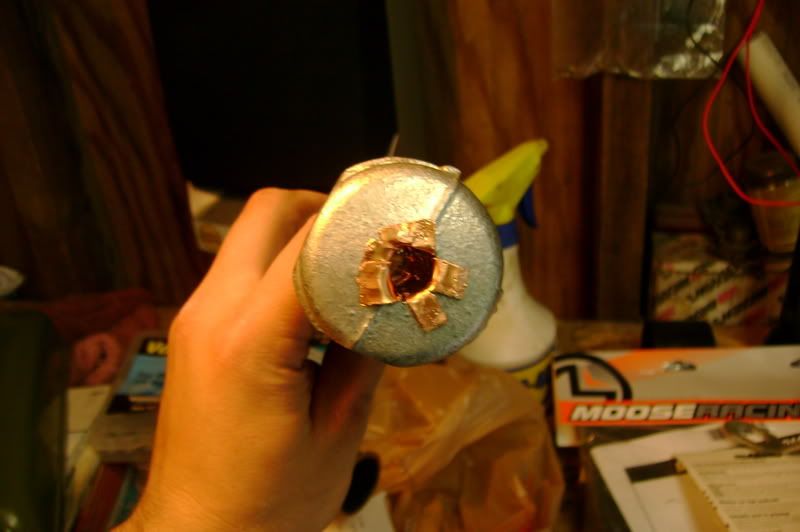
The front sprocket badly hooked, I wonder if it is stock...
Some carbon but still ok.
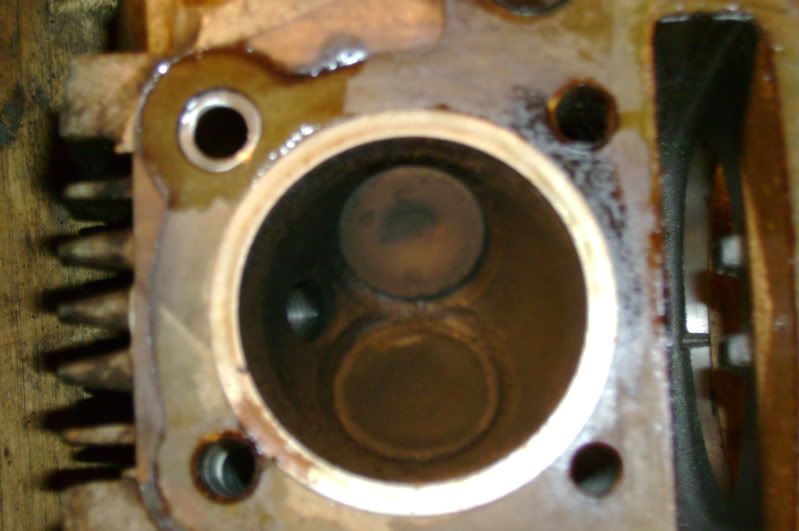
After getting the head pulled I am relieved to see it still looks ok, but the jug will be a different story...

Massively worn and pitted...
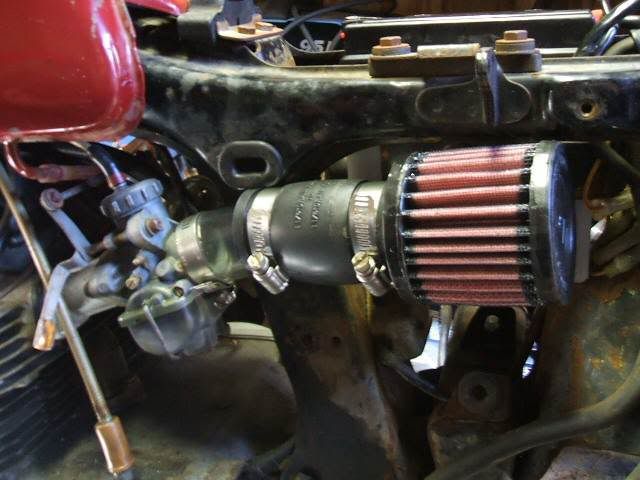
Once I get the jug off I can see and feel that it is toast. I know when my Dad bought this bike for my sister the air filter was missing I don't doubt that helped make this damage. The order for an 88cc kit happen shortly for this now, if I am going to replace the parts they might as well be bigger.

The piston is a cute little thing I think..
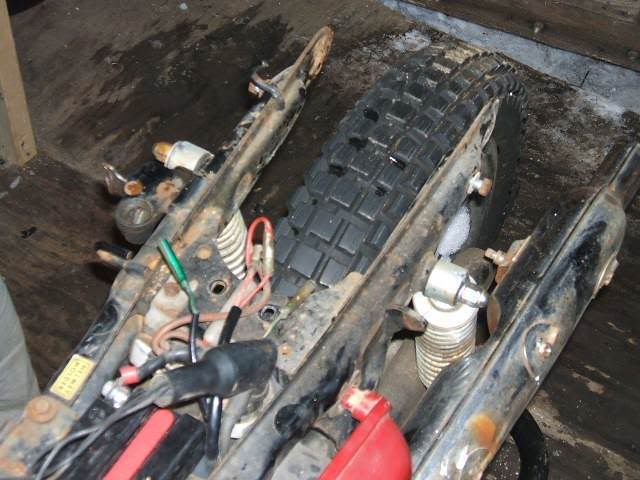
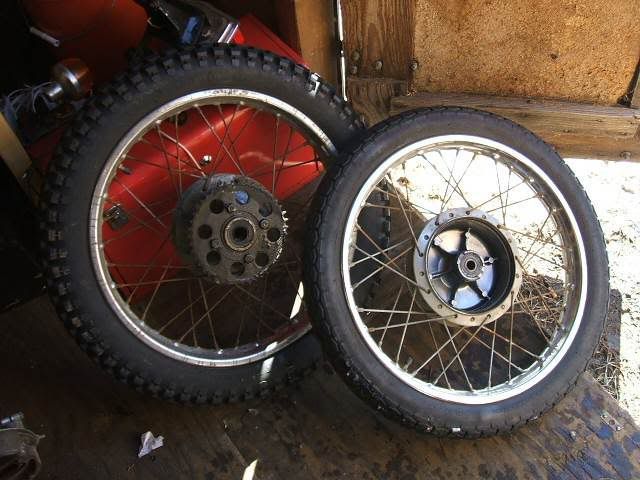
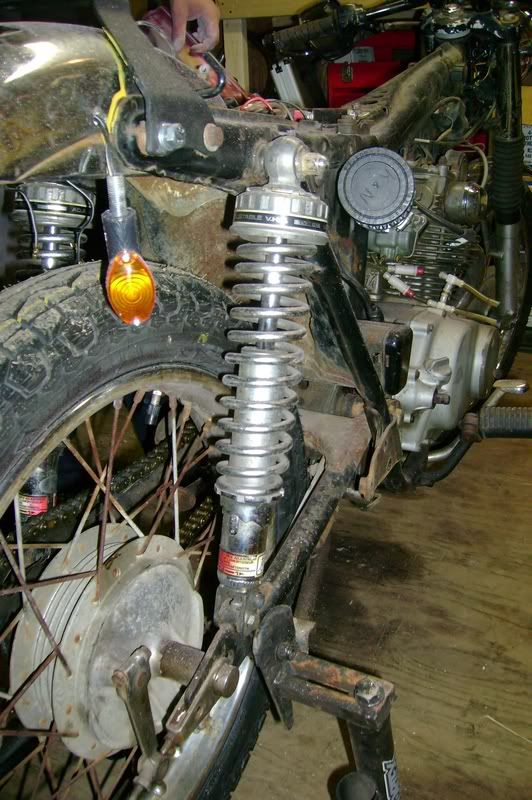
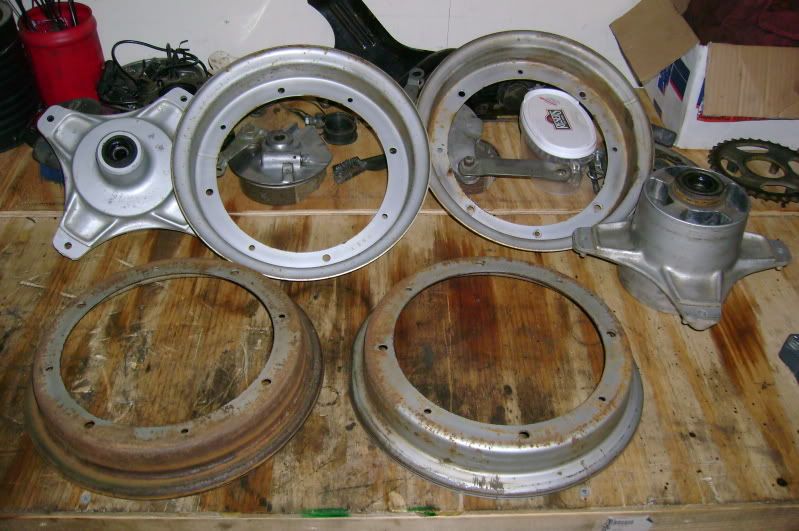
I pulled the wheels and checked the brakes and brake drums, new shoes will be put in lucky both drums are still ok.
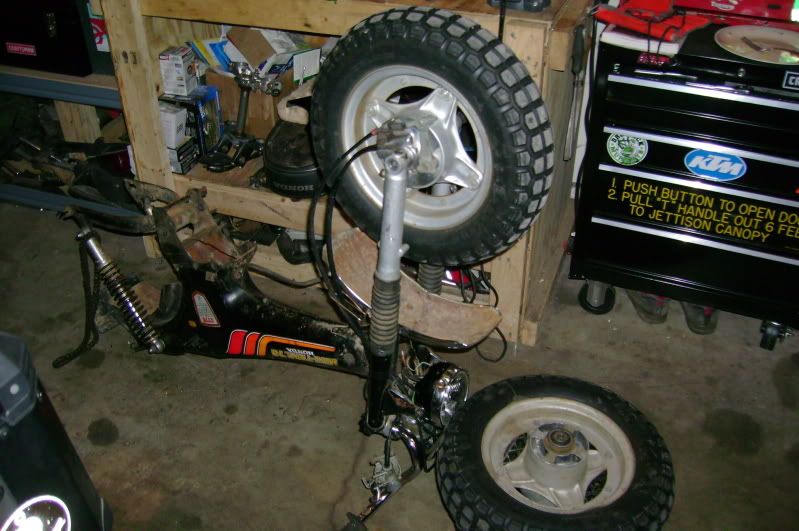
I never thought I would end up flipping a motorcycle bicycle style to work on it, but it made things easier. So far my list of parts needed is as follows:
(1) 88cc Bigbore kit
(2) sets for brake shoes
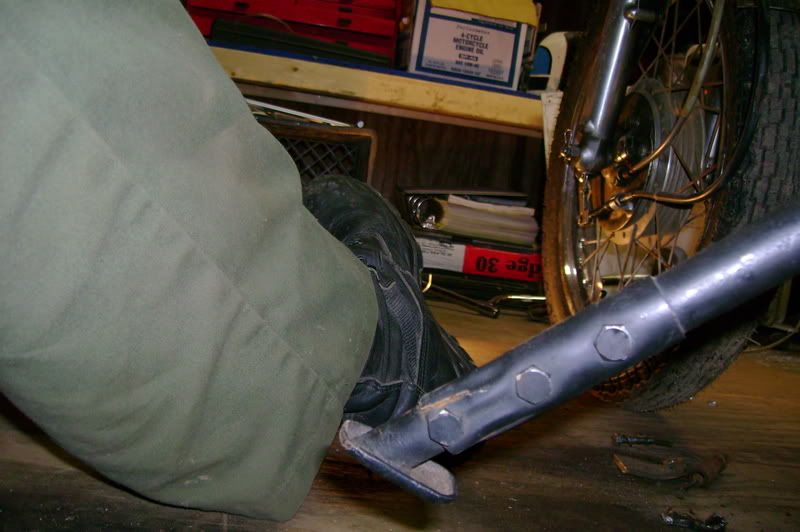
(1) New kick stand spring (last one lost during snow riding)
(1) Giannelli exhaust system (stock one is currently held together with soup can)
(1) Set of chain and sprockets
(1) New front tire (Might be a 30 yr old stock on still on there, massive dry rot present)
And assorted hardware both missing and bent to be replaced, still debating repainting the frame too.
Part Two:
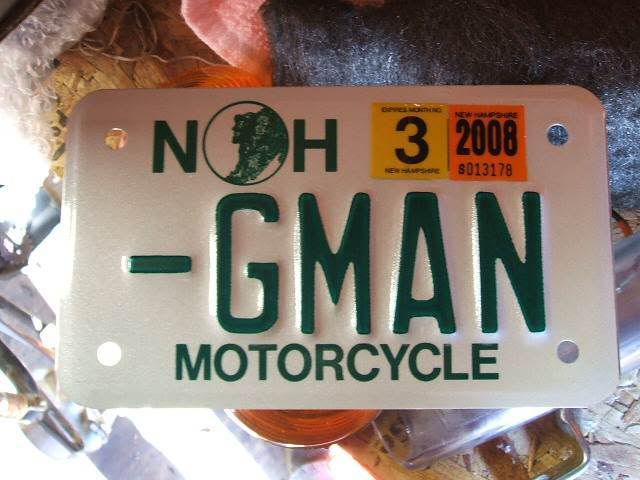
I know I could buy a pretty much drop in motor (other than converting to 12v from 6v) for the bike for the same price or less then the rebuild would run me, and I would be able to get a manual transmission, but I really want to keep the Honda cases. No good reason other than being able to say it is a massively improved 1978 Honda CT70. The big reason I am not currently planning on plating the bike is I will have to run through all of the lost title paperwork (NH doesn't title old bikes) and I can not think of when I would run it on the street. I do still have all of the lights and such in a box so maybe later down the road.
Right now I'm fighting with myself over which big bore kit to buy, and what other work I will do while I'm in there. I think I have it pretty much figured out and will spend the extra money for the "better" parts. With the fifty craze that happened there are tons of parts and kits (both good quality and bad) for this bike now, and I have been doing lots of homework to figure out what to buy. These little bikes are evil, parts are really cheap compared to a bike bike (under $400.00 for a 88cc kit with a race head and carb) but $35.00 here and there adds up. As much as I would like to throw tons of money into the motor I am realizing that I do not need a race motor in this, I have had tons of fun on it with a crappy motor. How much do I really need for a bike to ride in the yard while drinking beer with some friends? My updated parts list of stuff I have to pay retail for looks something like this:
88cc Big Bore kit (Not sure which one yet): $124.00 - $184.00
Giannelli Performance Pipe: $175.00
High Volume Oil Pump Kit: $30.00-$54.00
Kitaco Performance clutch spring set: $20.00
Total: $349.00-$433.00
The other things like brake shoes, carb rebuild kit (or new carb they seem to be pretty cheap), chain, sprockets, valves, valves springs, and tires I will order though the Triumph shop that I work at with my discount. I hate seeing the numbers add up, but I figure this will be a job I will do once, the stock motor lasted 30 years. I am also going to rebuild the head after talking to the mechanic at the shop, $30 bucks in parts now will be better than having it drop a valve after the rebuild, its not like I do not have the tools and knowledge to do it.
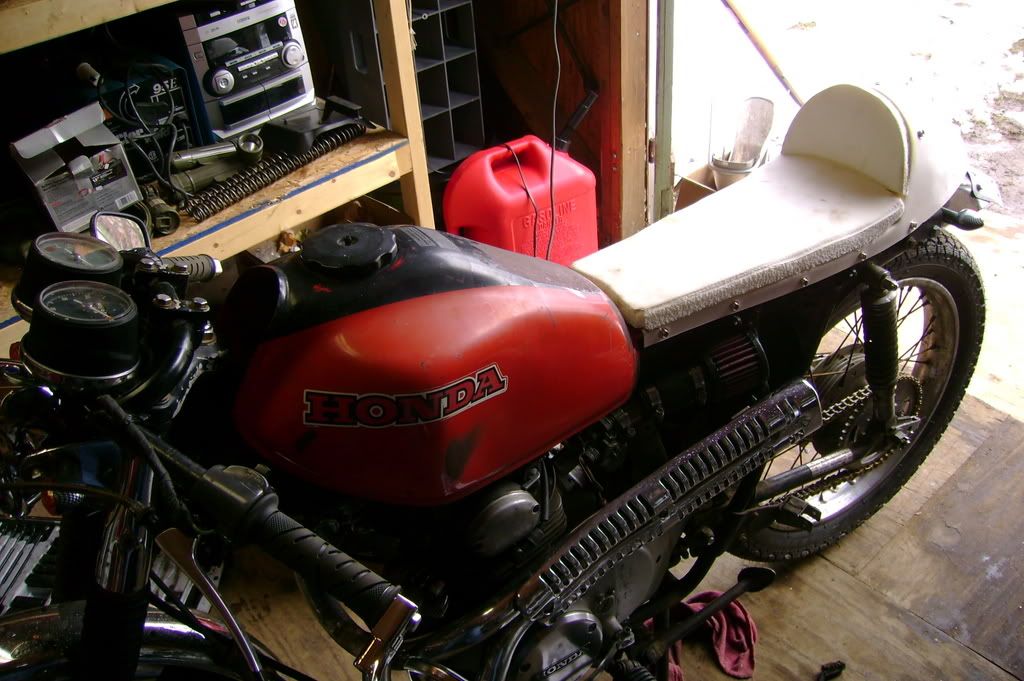
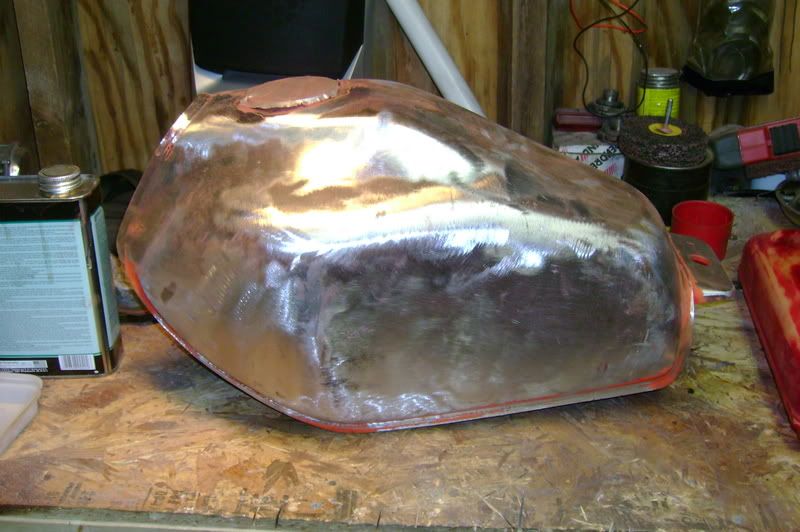
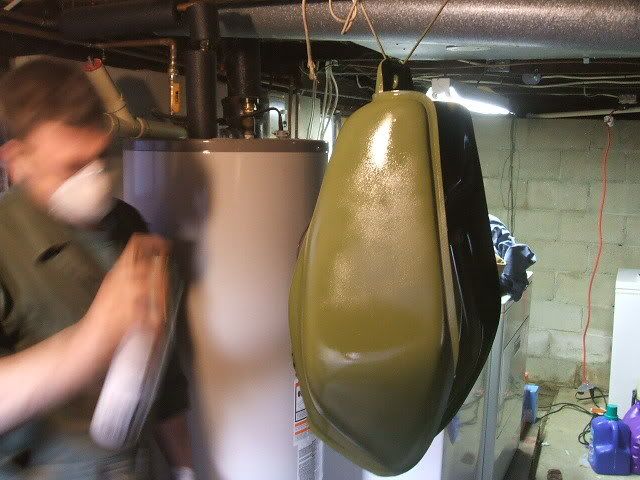
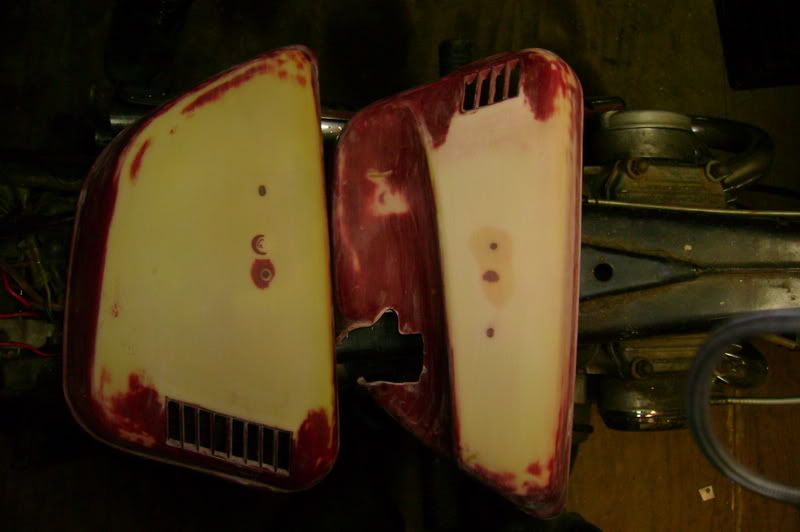
Now that I'm waiting to order parts I don't have too much to do on the bike. Last night I pulled the tires off and found rust on the rims so I'm going to clean them up and repaint them. I'm kicking around painting them a different color, sorta leaning towards red at this point but haven't decided yet.
Part Three:
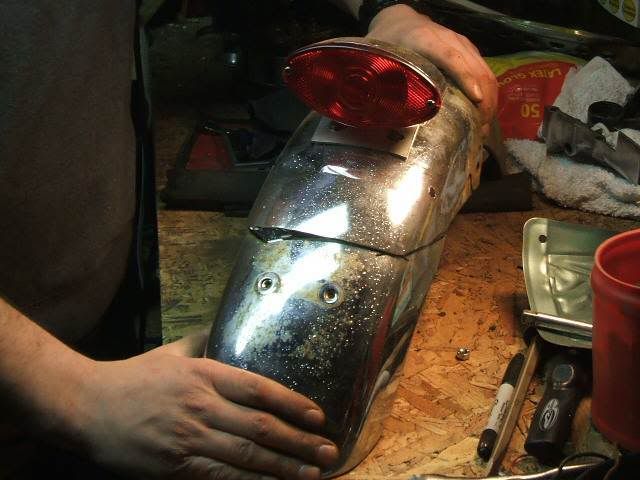
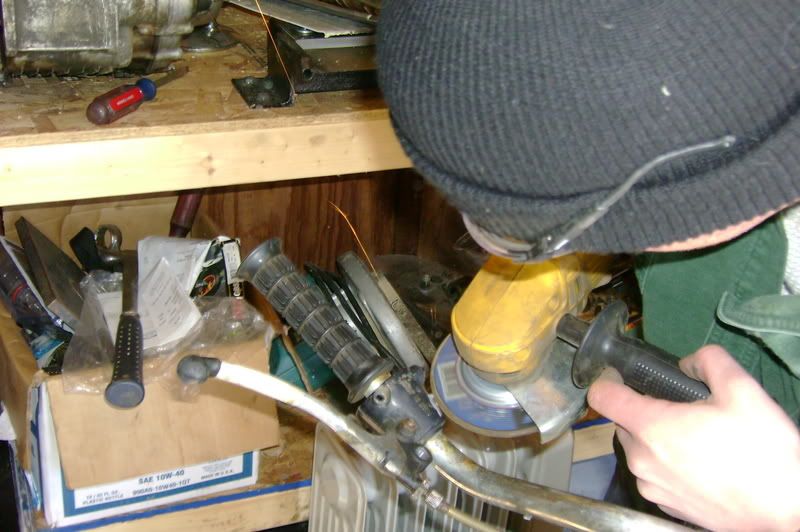
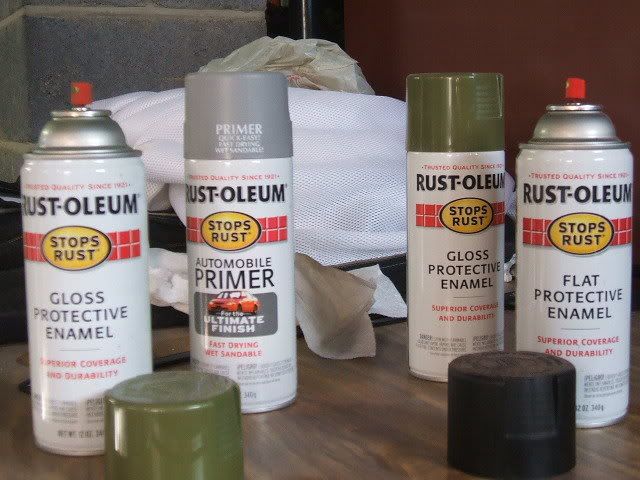
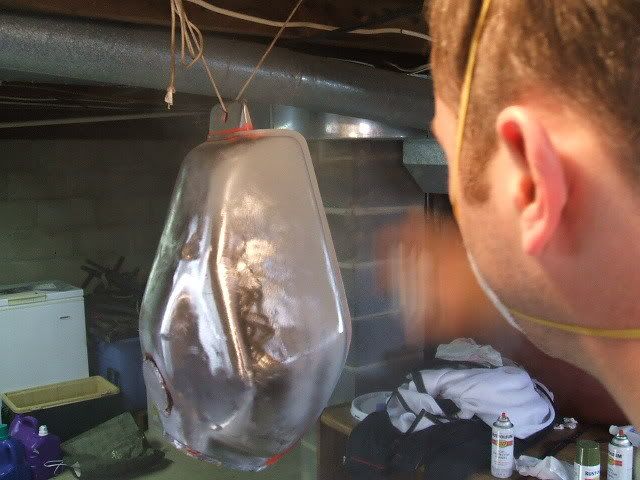
It looks like this project will drag out for a while, I couldn't bring myself to blow the large wad of cash needed all at one time. So for the mean time I will collect parts and get stuff ready one thing at a time. Back to the progress, as nice as it would have been to keep the wheels the stock color the rear was really rusty and needed to be stripped. To be honest I was really too lazy to try to match the OEM paint and had a bunch of black rusto spray cans sitting in the garage so they went black. I forgot to take pictures of my drill with a stripping wheel clamped in my vice but I was able to bang out some of the dents in the rims when they were apart.

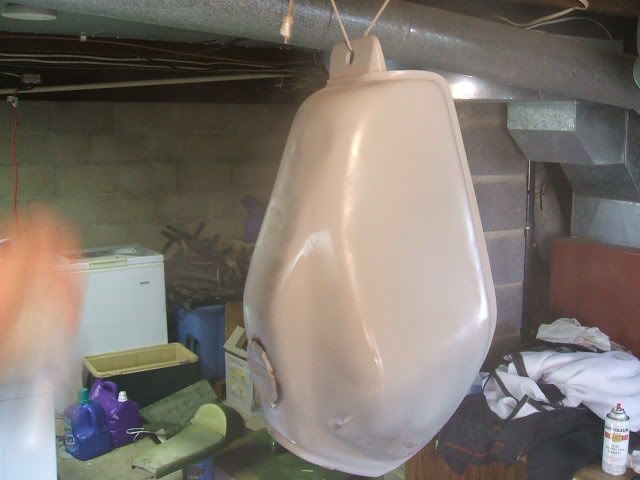
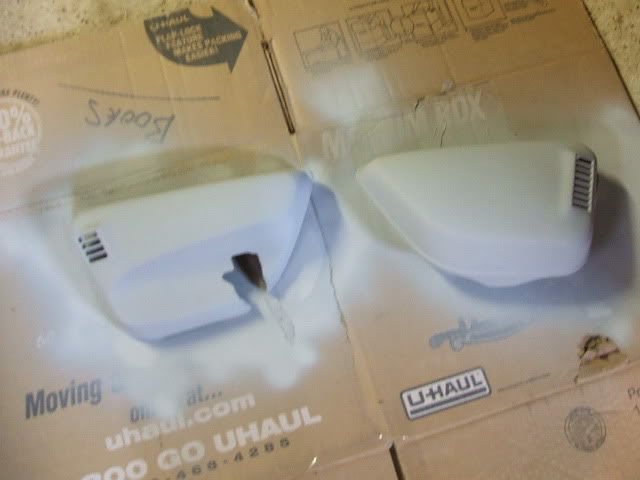
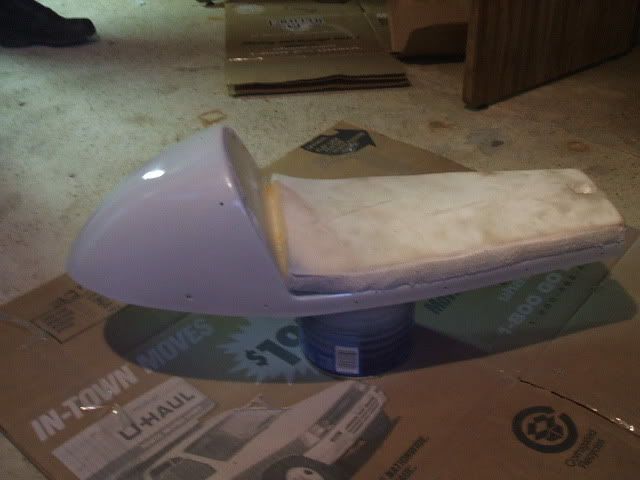
Primer

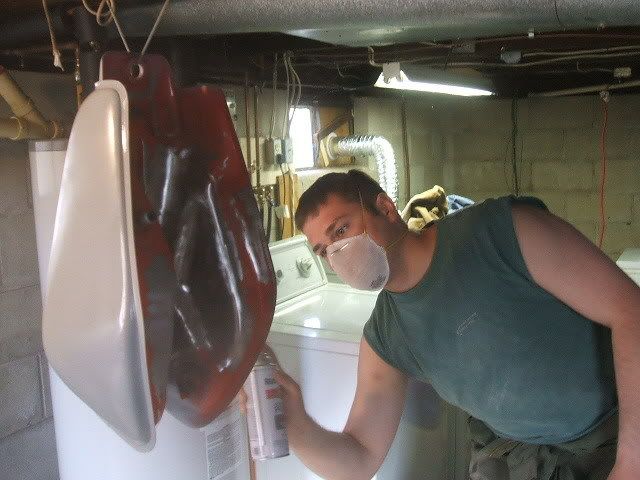
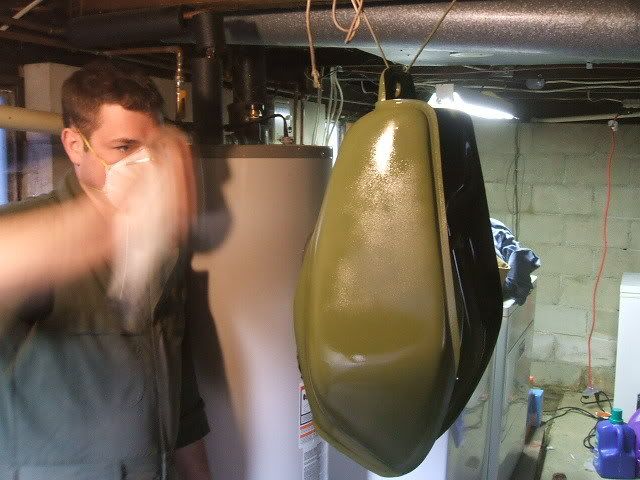
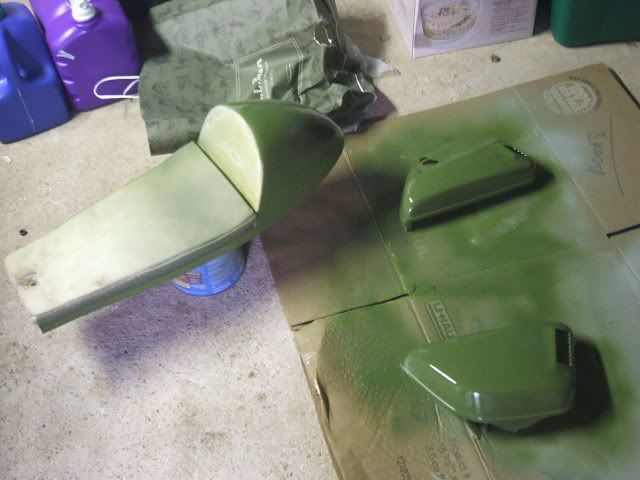
Paint

All back in one piece
I think they came out well, I like the two tone effect.
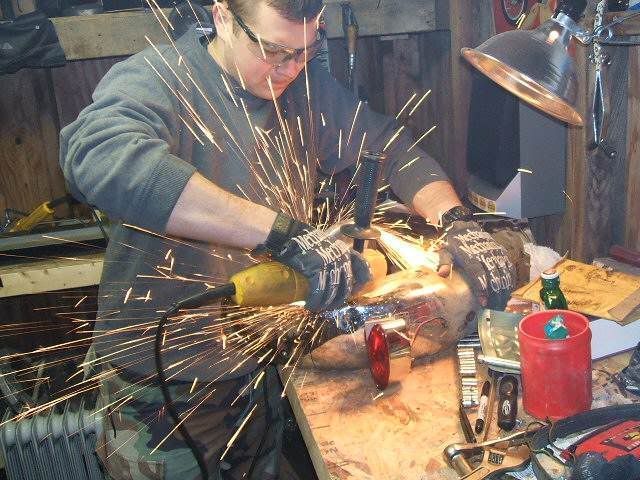
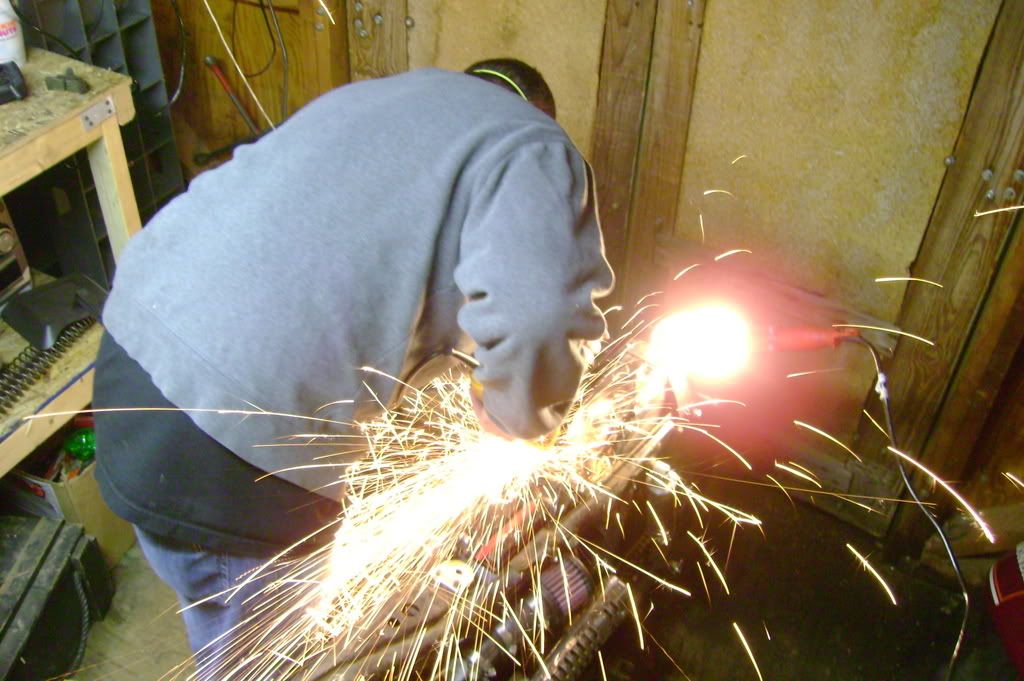
The next task on the list was to take care of the head. I was debating buying a new race head for it, but figured I should save some money and try my hand at a polishing job. The first fight was getting one of the tappet covers off, it was totally stuck. After starting to round it out using a wrench I tried to slot it and use a screwdriver, that failed too. So I resorted to cutting it apart, I'm glad I have tons of extra from my CB360 projects.
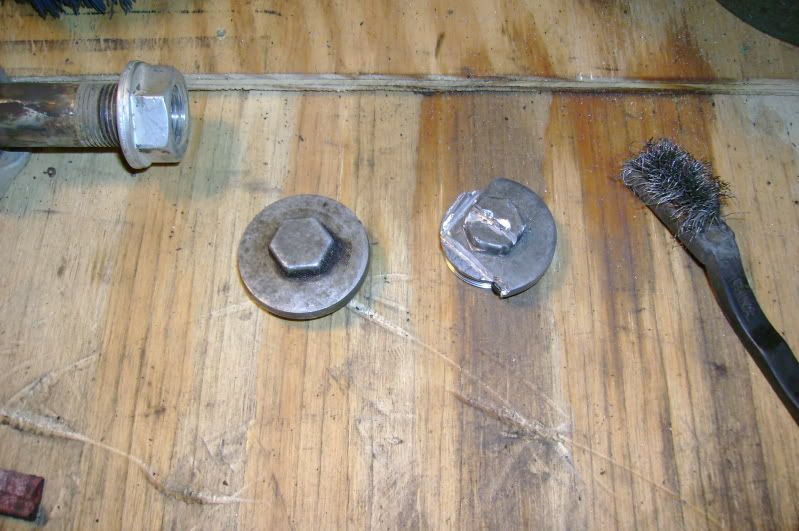
Hacked to pieces
With the tappet covers off I used the oversize socket method of removing the valve keepers. The valves had a bit of build up on them, at $7.00 a piece I will replace them when I put it back together.

Lots of crap on the intake valve
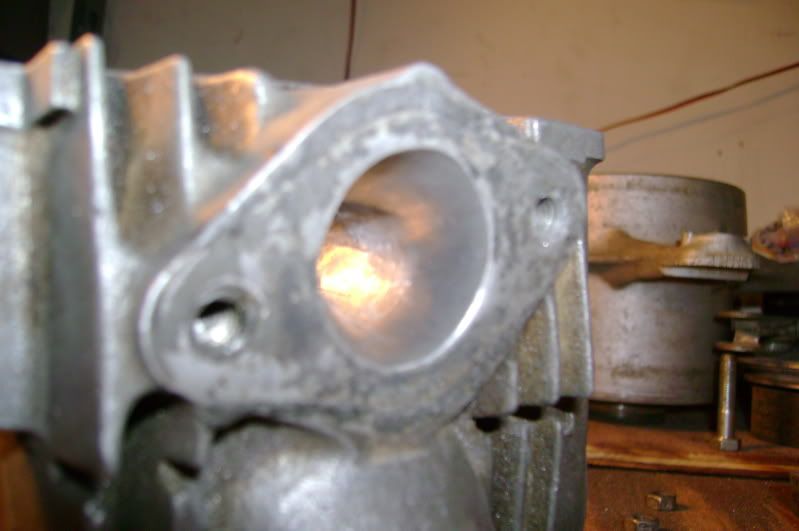
Looking at the ports on the head it was easy to see that there was no finishing work done to the casting, really that isn't shocking considering the bike. I will be a sicko and clean up the head the best I can.

Stock nastiness
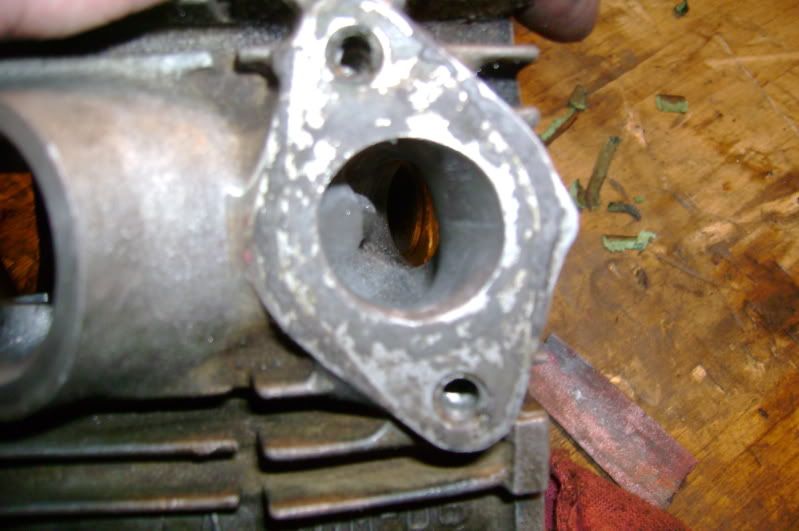
After a little time with some sandpaper
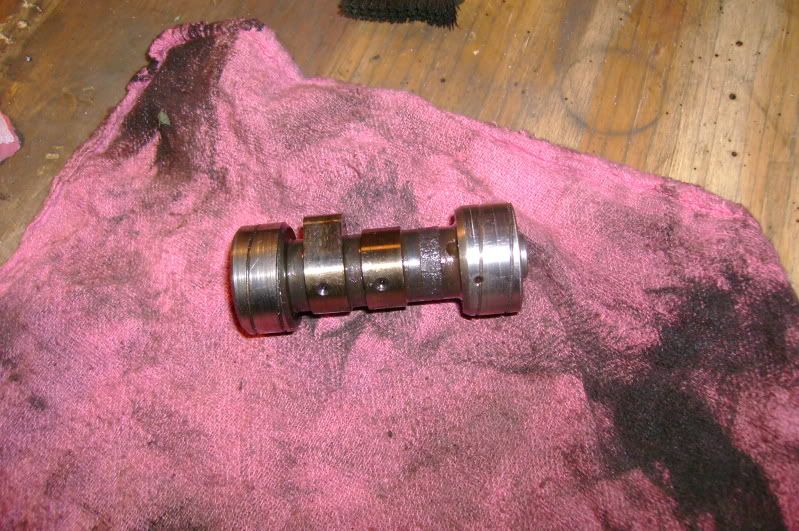
Tomorrow I will pickup a Dremel tool to speed up the work, the casting is pretty rough and a few spots and there are big seams that will take forever to sand down by hand. As a parting picture look at the cute little cam...
Part Four:
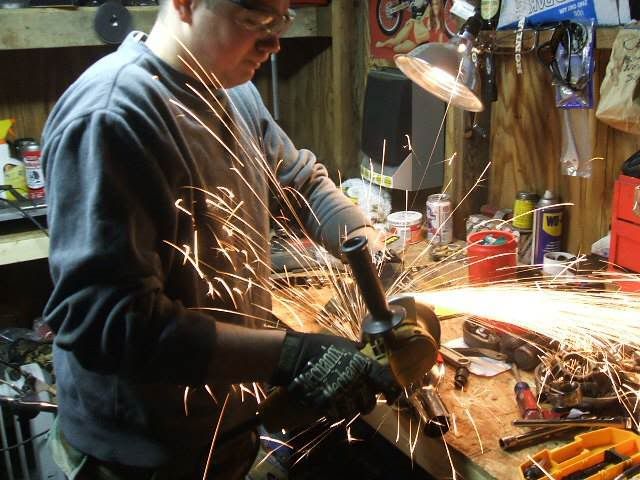
I picked up a Dremel tool and started working on the head last night, after a few beers progress was deffintally being made. I think I still have another nights worth of work to do before it will be ready to go back together. The toughest part is the motor being so small, my fingers are too big get in some spots for the finishing sanding. Now for some pics.

Exhaust side still needing alot of work

The intake side is a bit bigger, that makes it alot easier
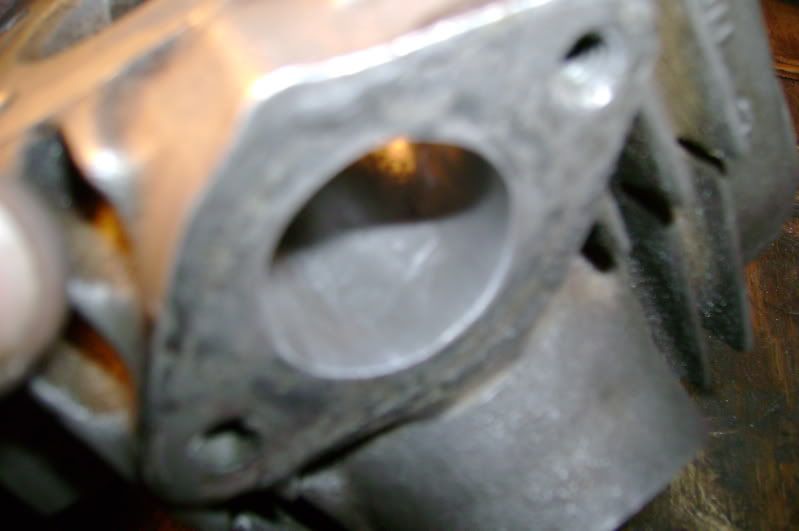
My camera doesn't really like to focus this close
Part Five:

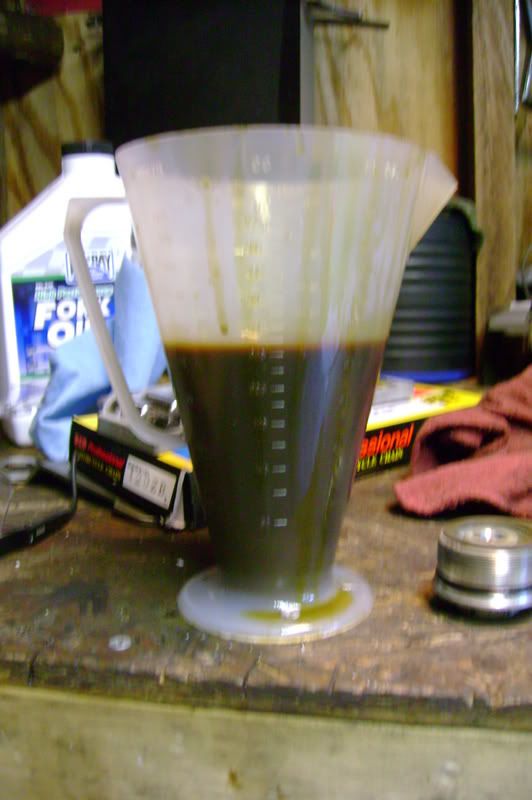
I figured that since I did not have the required engine parts to move forward with that aspect I should work on other things. I decided to change the fork oil. I found tool marks on the drain plug so someone else in the past 31 years changed the oil, but it was a long time ago, this is what it looked like coming out. No, I did not pour my white Russian into the drain pan...
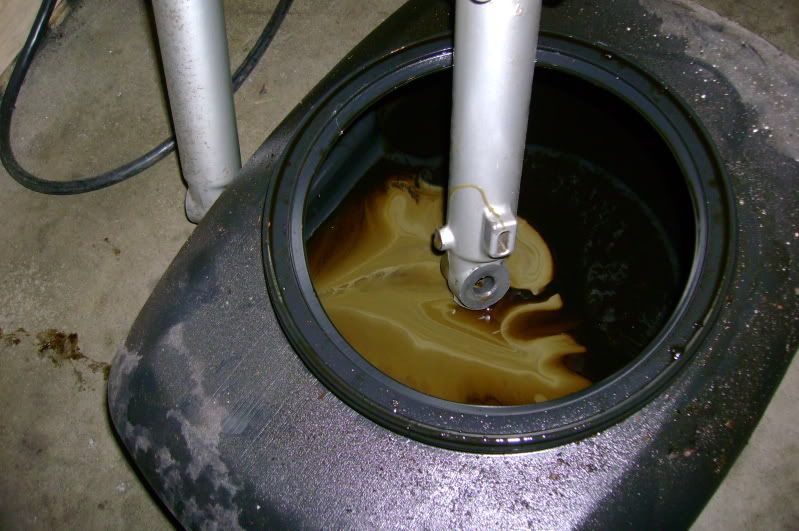
Milky goodness...
This is what went back in, fresh 10wt fork oil, all 95cc of it per leg.
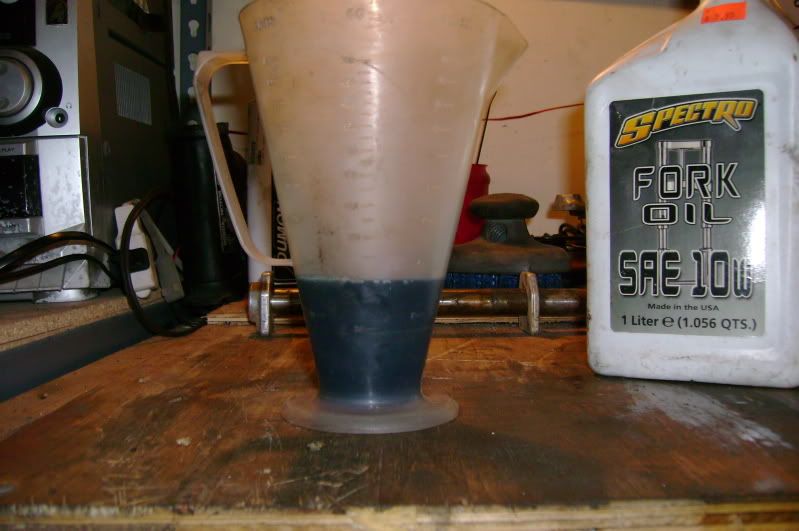
Clean and blue oil...
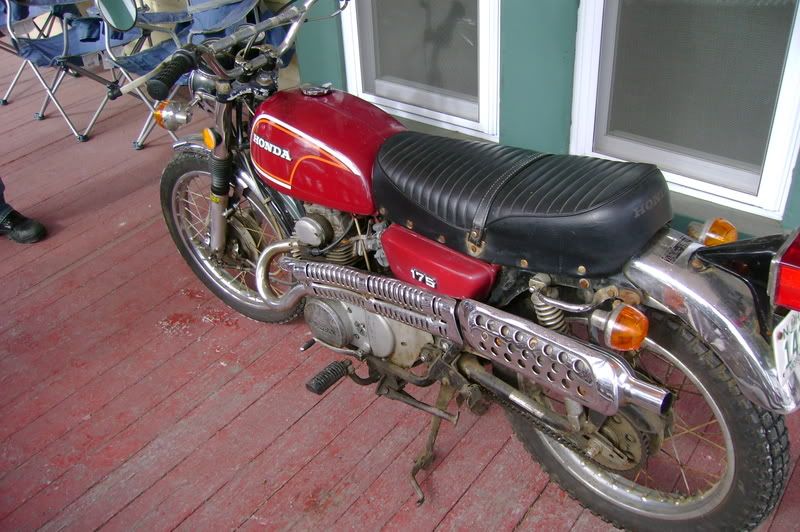
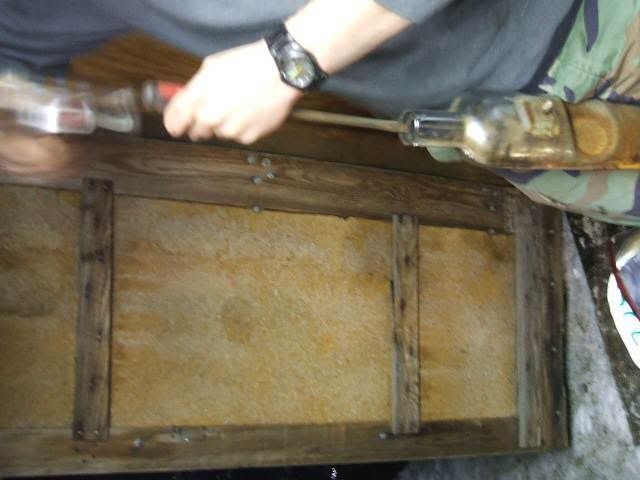
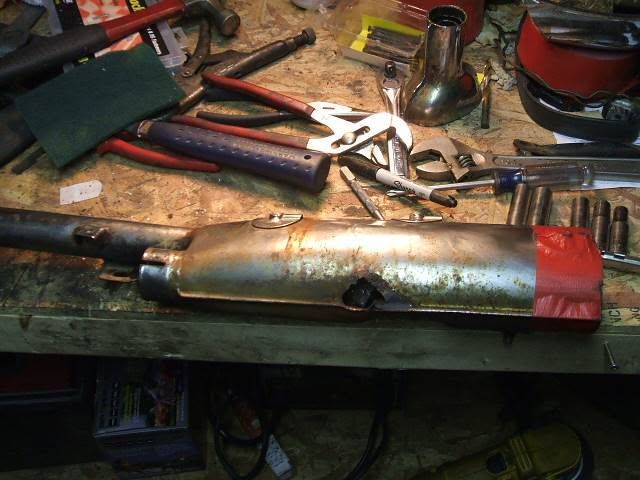
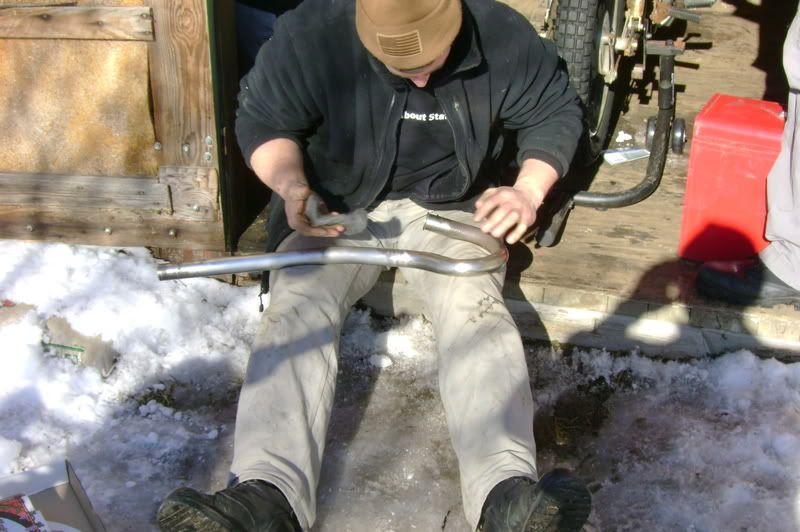
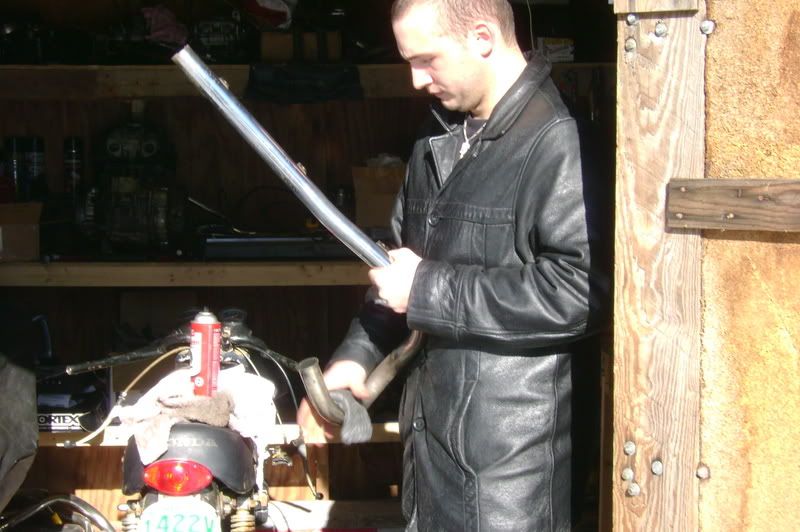
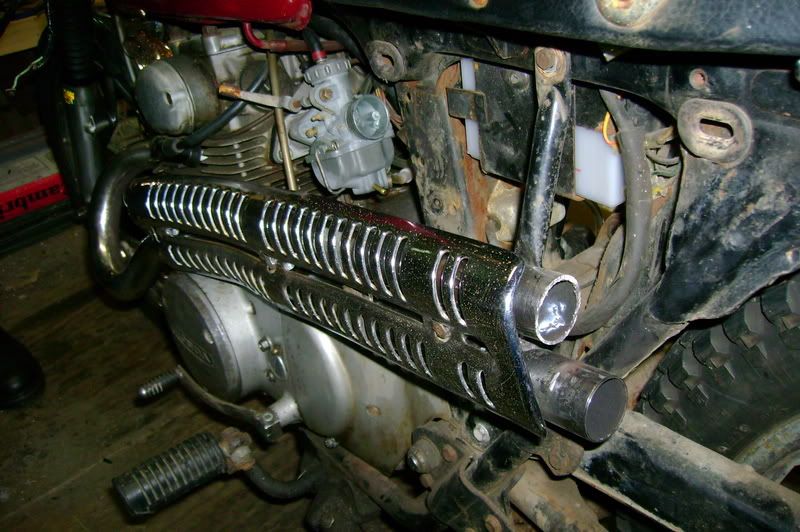
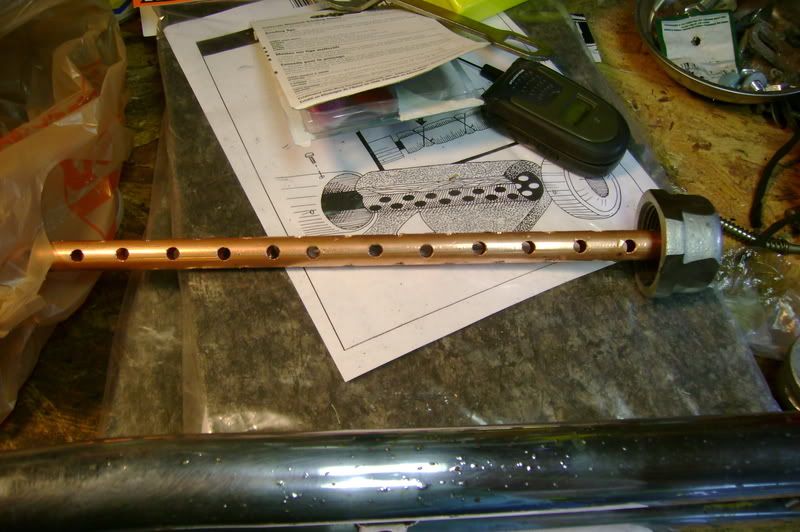
This is why I need a new pipe for the bike, besides the general awesomeness of having a full system exhaust on a minibike. In the middle of this winter's snow riding I had to use a soup can to patch the head pipe (a PBR can and a Fosters can both failed at the roll).
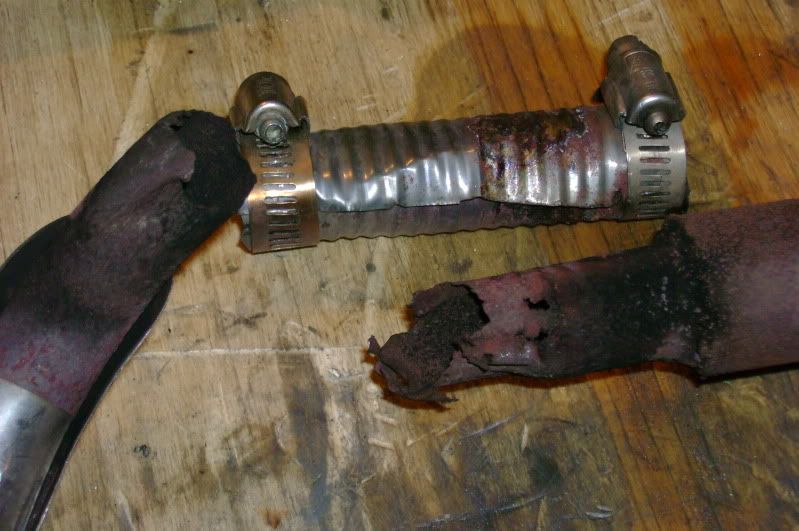
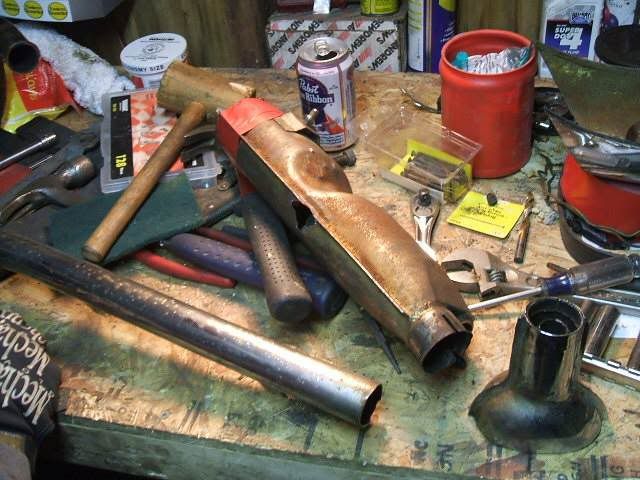
This should be one piece not five.

Pile of exhaust parts
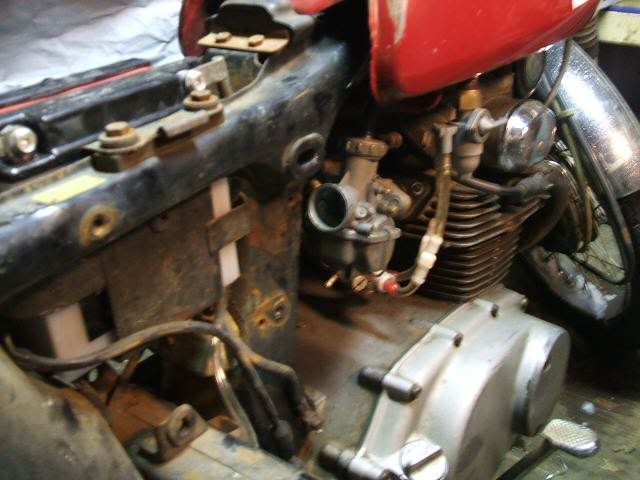
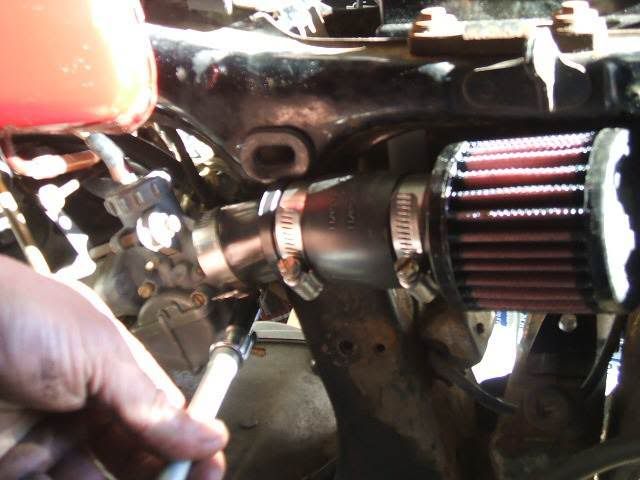
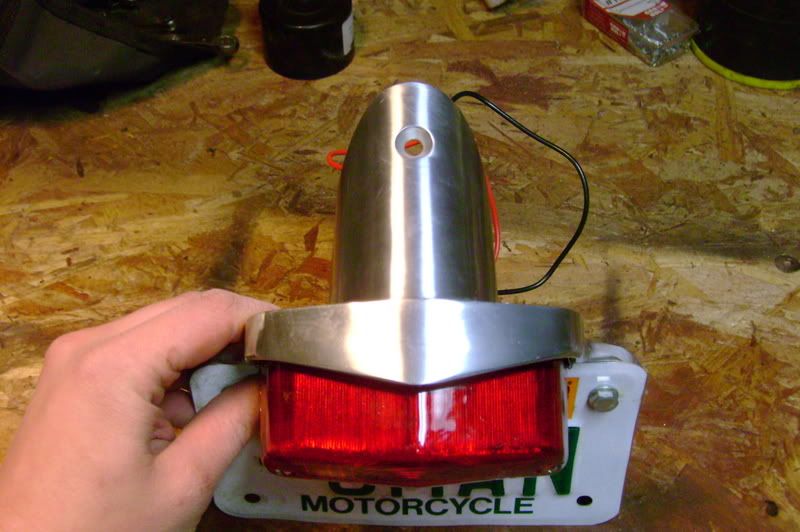
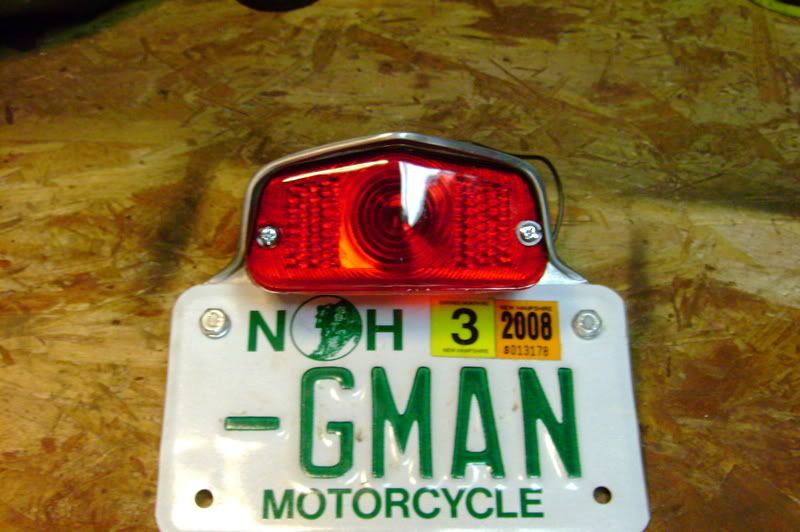
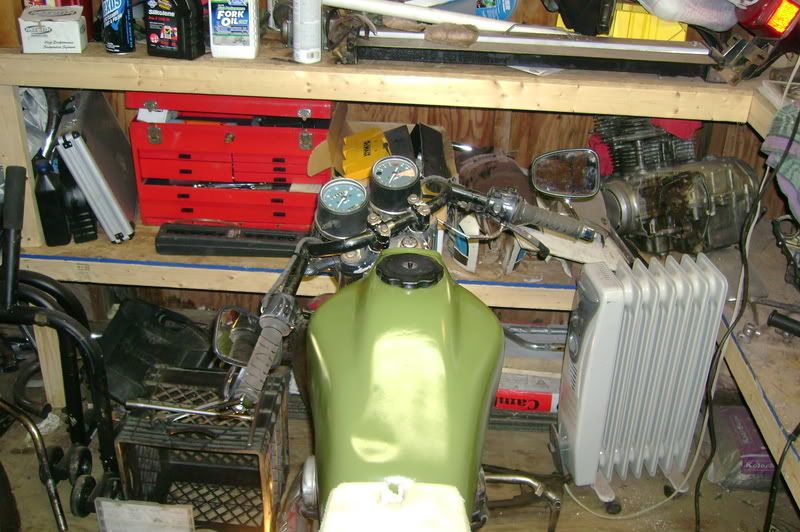
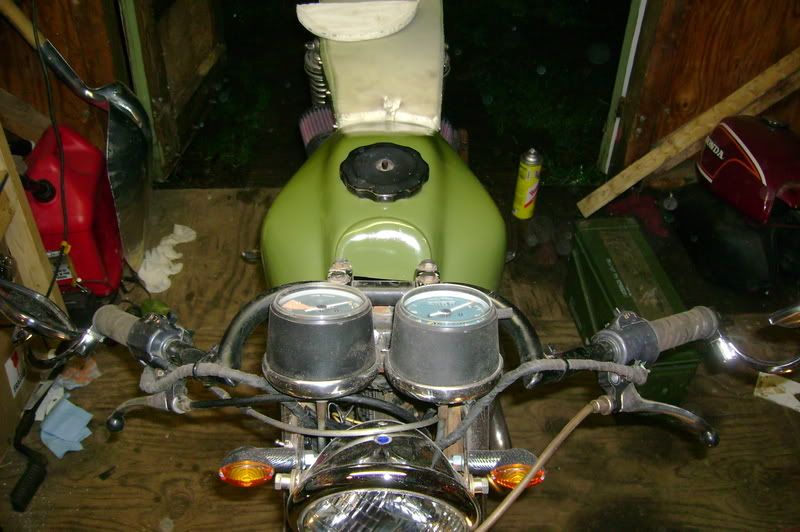
I also looked into changing out the stock throttle, front brake, and kill switch with the Magura on that was sitting in my parts bin.

Stock
Well I guess I forgot to take a picture of the fancy parts on the bike. Anyways while slacking on at work and trying to sell my DR350 I found something on Craigslist. After leaving work a little early and grabbing my truck this found my way into my garage...
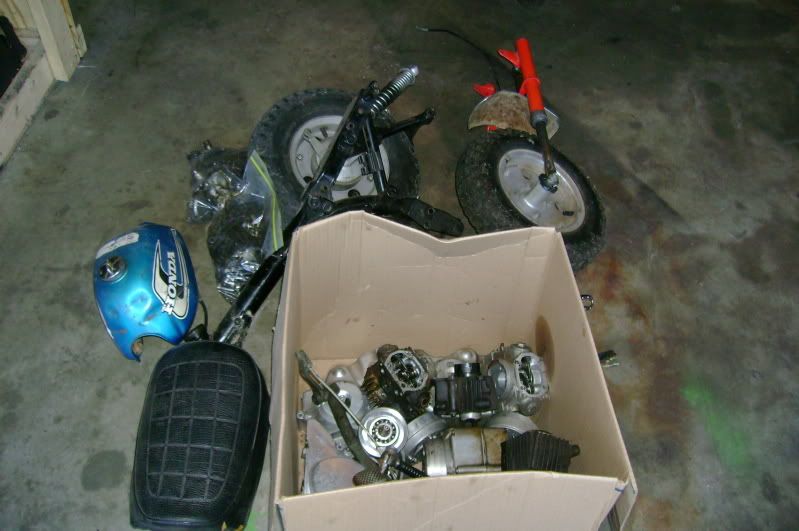
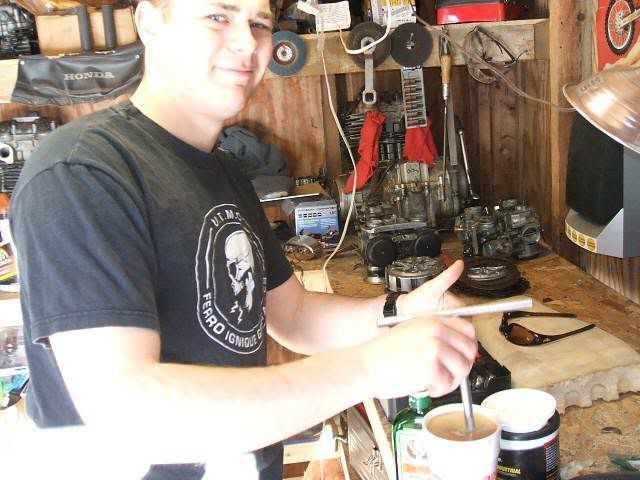
It's a mostly complete 1977 Honda Z50 (less the bars and exhaust) in boxes with a second motor and an extra 70cc top end. I am sure the newest bike in my garage will soon have its own build thread. For some unknown reason the last owner thought it would be wise to split the cases then dump the parts into a big plastic bag on one of the motors. So I call Rebecca to join the party in the garage and start sorting things out. As the laptop provides the tunes and the cocktails go down the parts get cleaned and sorted. Rebecca makes quick work of both sets of carbs while I fight with the wheels (the fight was not won until the next day).

One carb starts its tear down, yes I rock my laptop in the workshop.
After the night came to a close I found myself making new parts lists due to new to me parts coming into the mix. It looks like there will not be big bore kits in the future just gasket kits, an extra set of tires, and second carb kit.
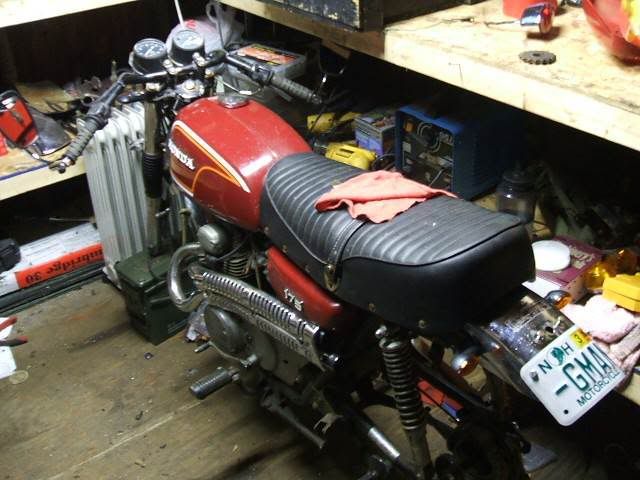
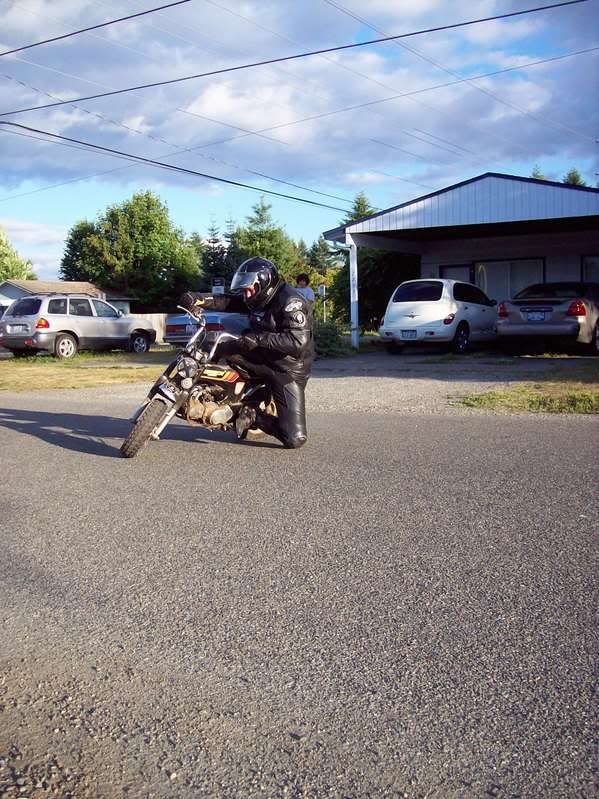
Part Seven:
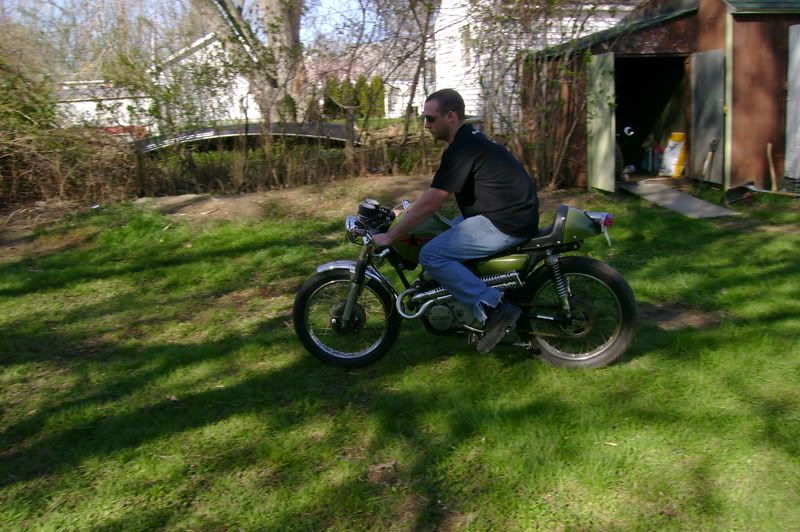
The bike ran and fun times were had, I am sure this is not the end of this, not buy a long shot. I have a feeling this will be a long term back burner project...