Part One:
Written by G-Man
So this week I ordered the first wave of parts, totaling about $600. no big deal. They will arrive on Tuesday and Thursday. But much work still needed to be done.
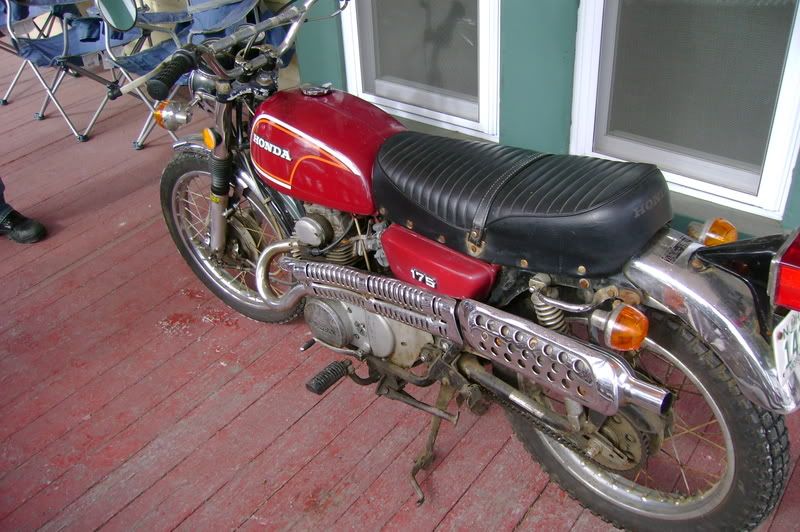
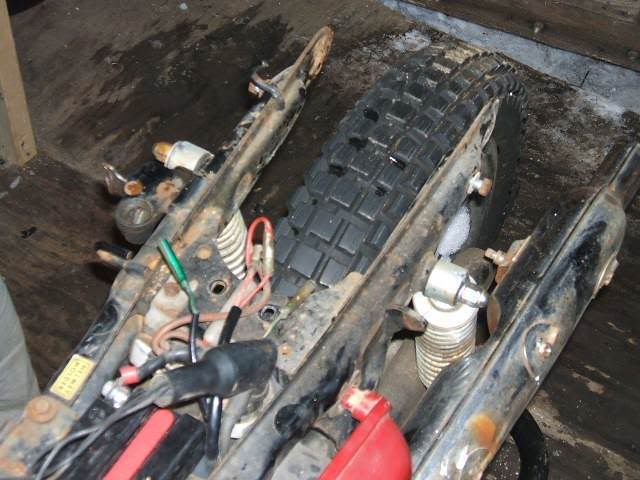
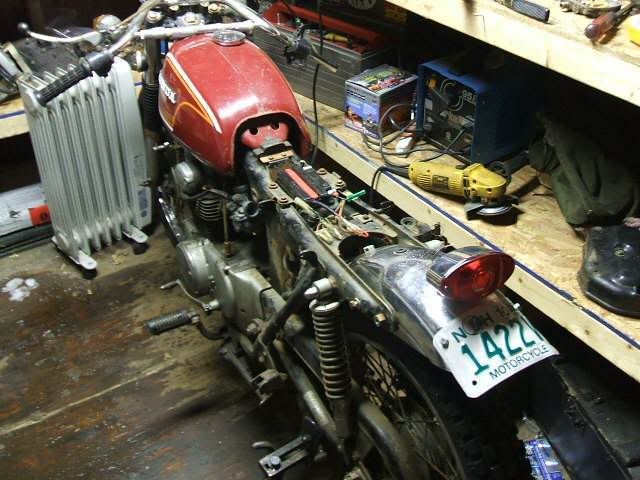
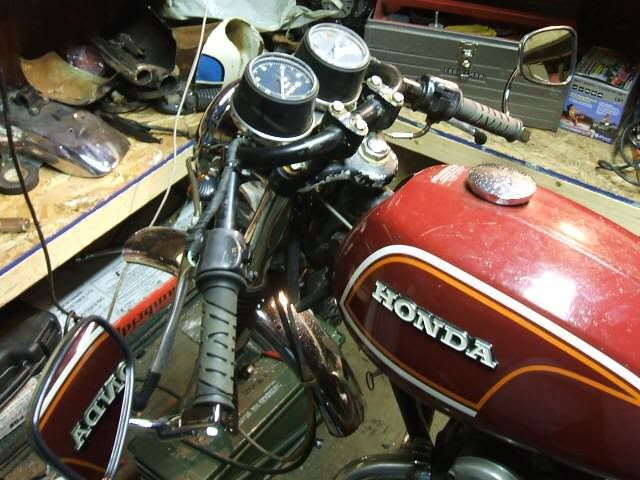
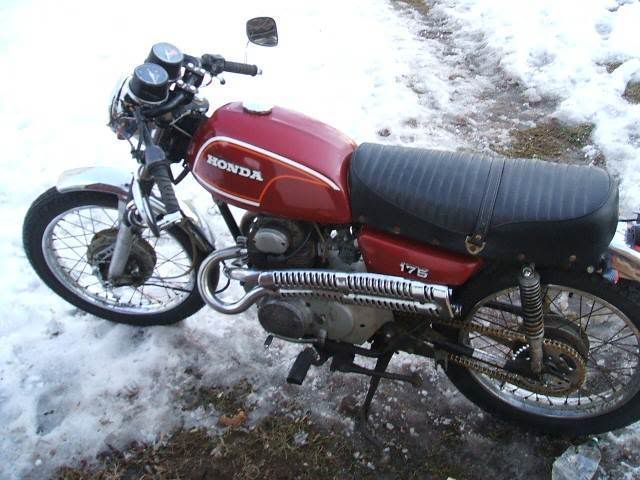
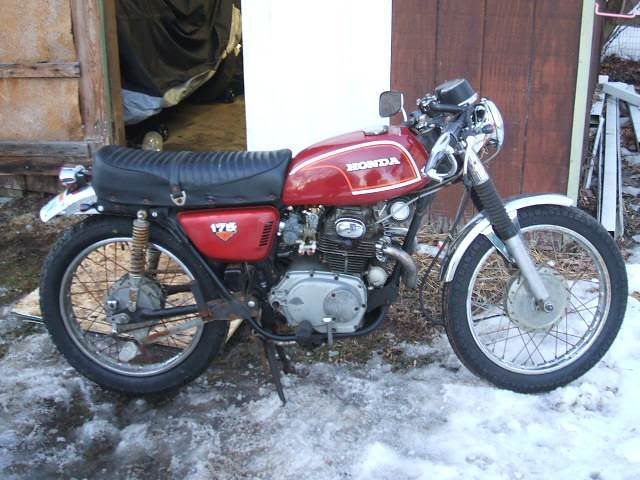
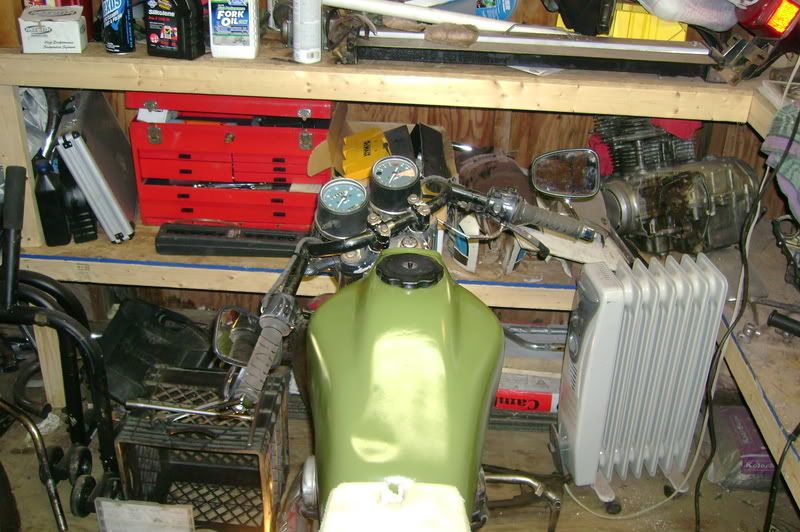
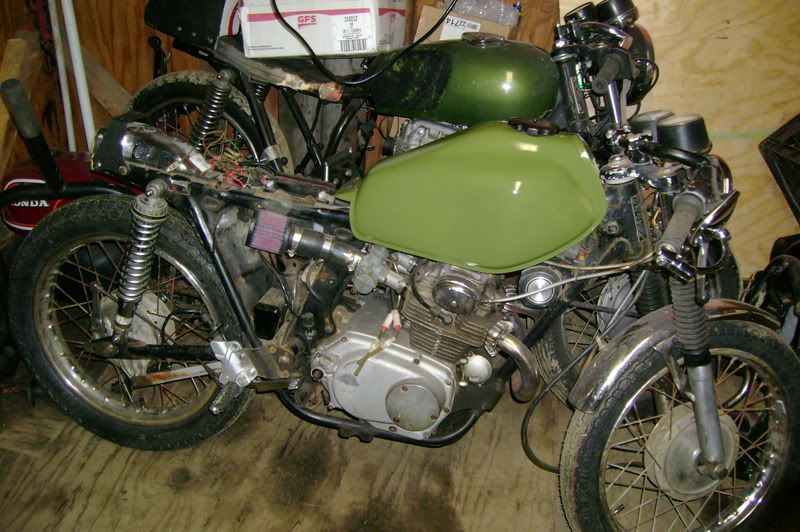
Let us remember how she looked at the start of Saturday... This was not to last.

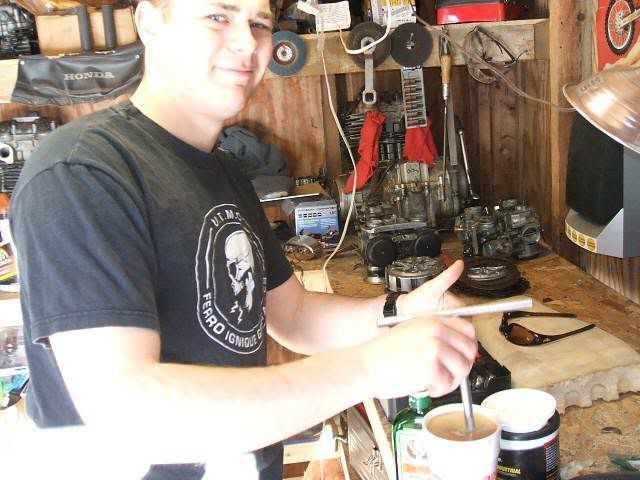
Firstly, I procured some coffee for myself and the FBR (who was gracious enough to help me through this endeavor). he promptly added grease and jaeger to it, my hero.
Now on to the fun. first we took off the seat, removed the side covers and exposed to air boxes so
we could get some pod filter measurements.
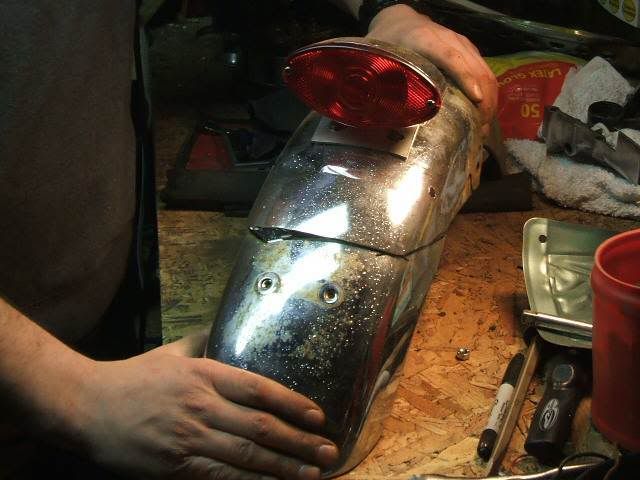
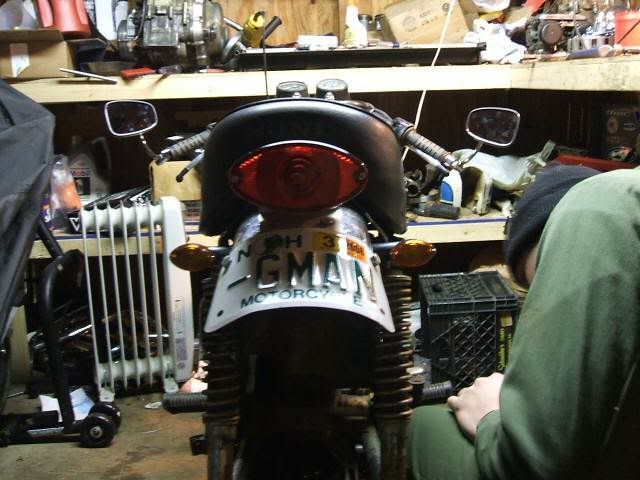
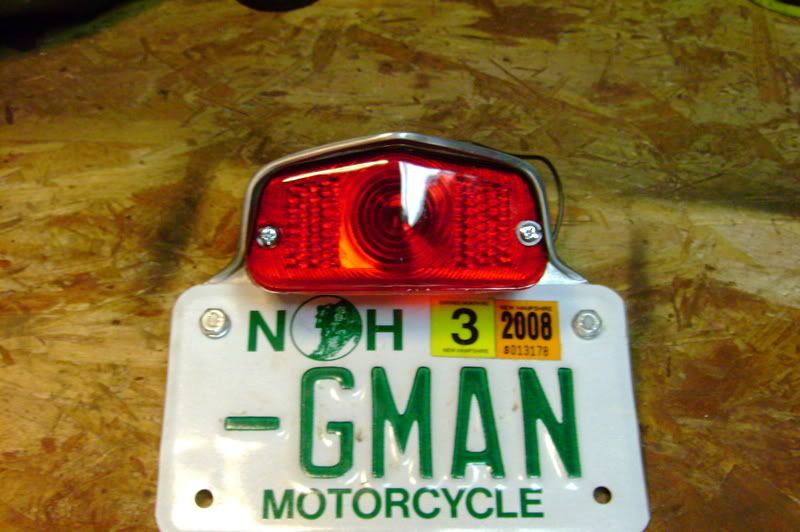
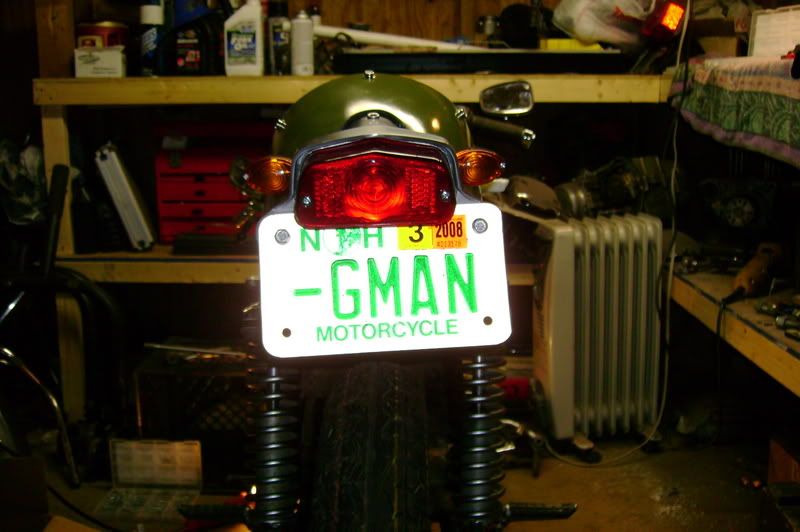
Next we decided to remove the taillight and add my low-profile one and bob the fender with an old plate.
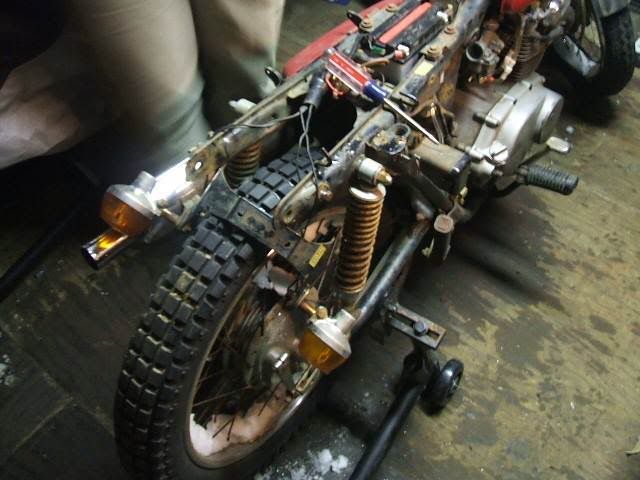
Rear fender before...
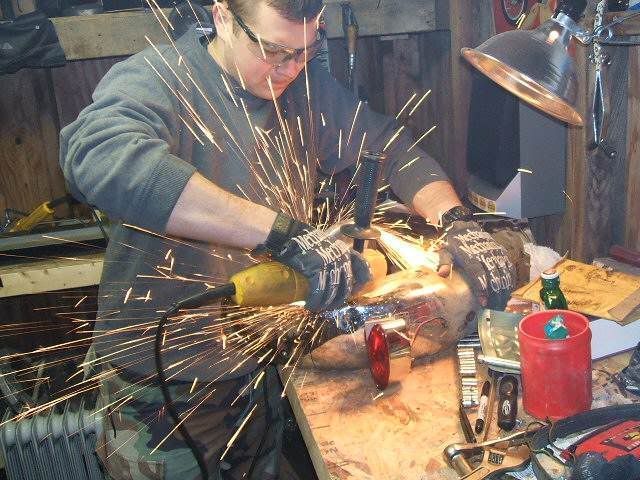
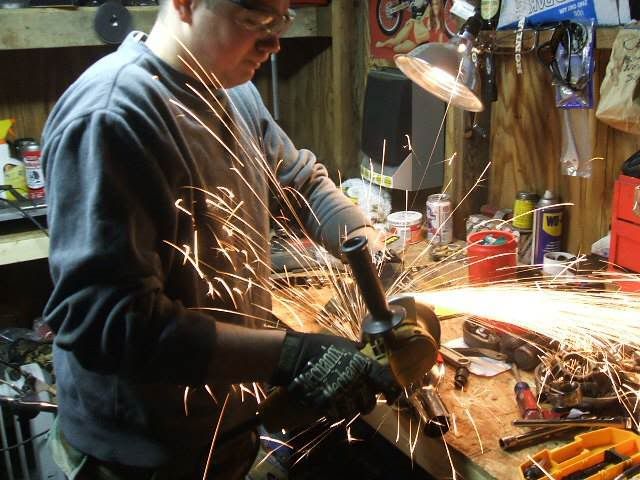
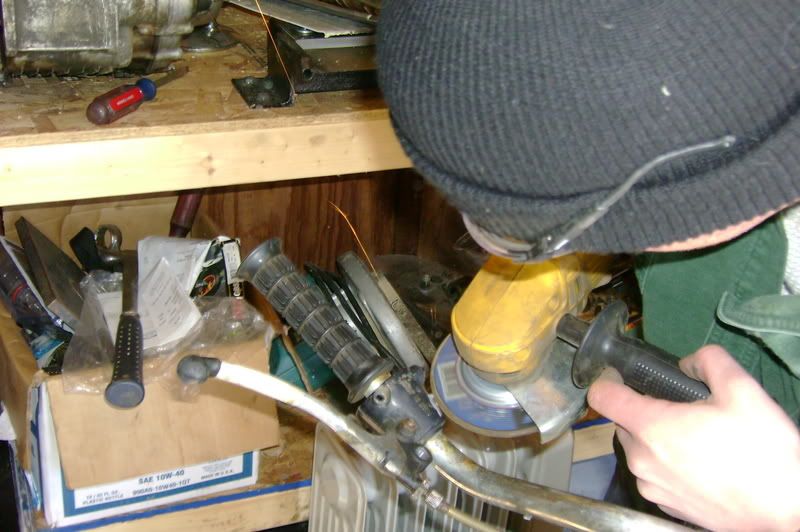
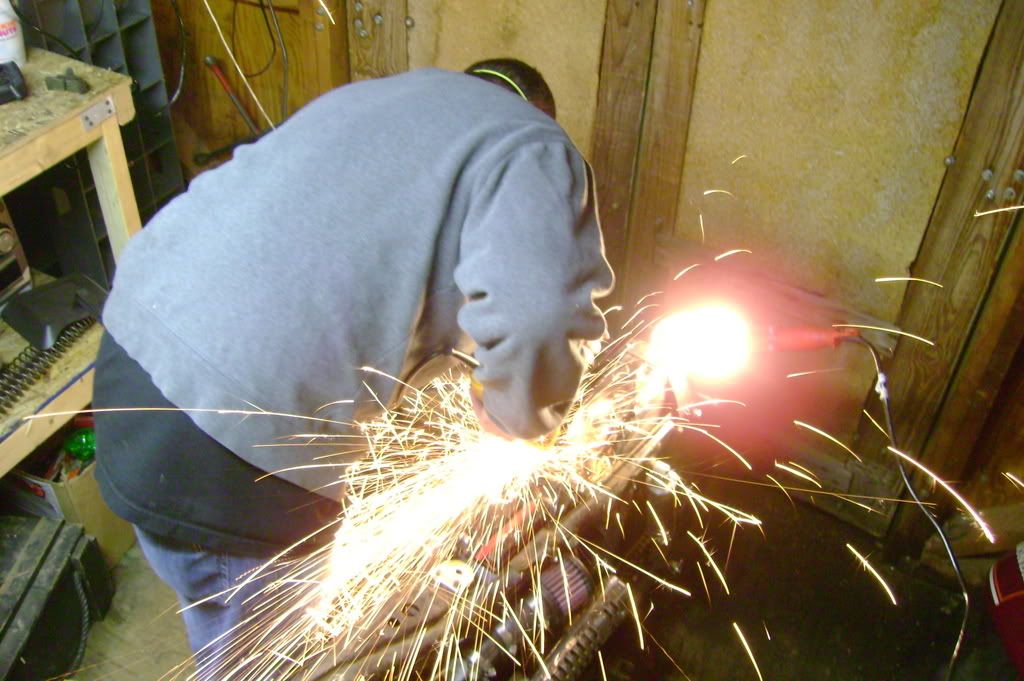
FBR with his angle grinder...
Rear fender after...

Later on we will remove the bracket, paint it up real nice and it will be good to go. At this point the several pizzas we ordered showed up and we promptly devoured them in record speed. They were meatlovers... it was good meat. Next we decided to remove the baffle so that my ride didn't sound like a hairdryer humping a lawnmower while taking on water.
We did it the old fashion way they did abortions before Roe V. Wade...with a screwdriver and a hammer.
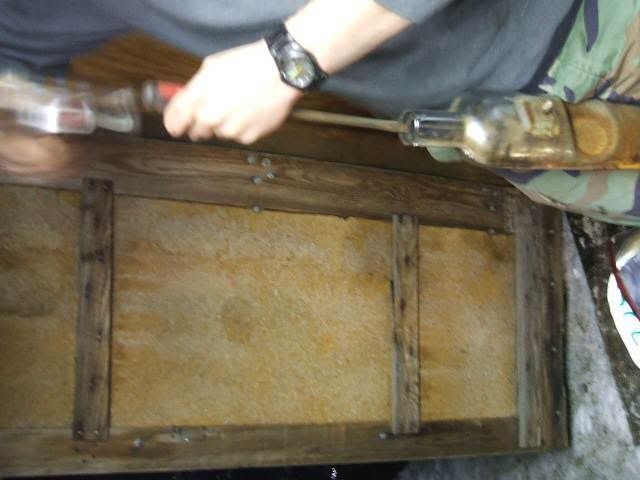
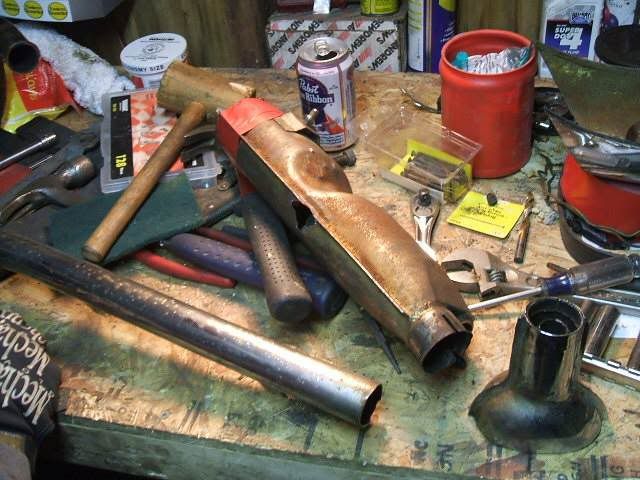
This worked fine for the first 2 layers... but the third layer was being a bitch. An hour and two screw drivers later a brilliant idea came to mind... SHOTGUN PIPES!!! Get the angle grinder back out.
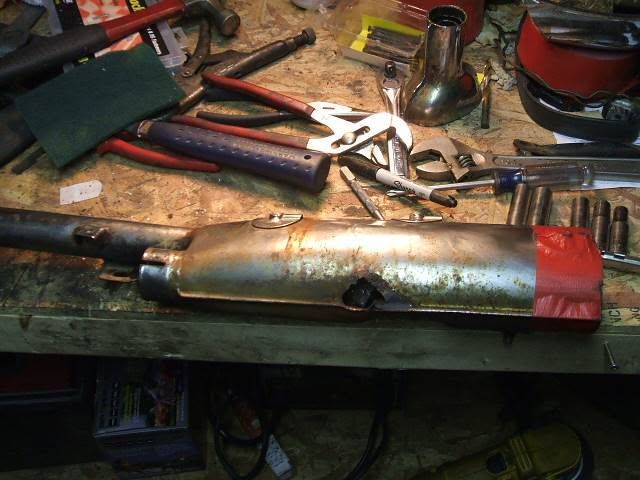
Before and after on the exhaust...
Now we reach a holding pattern. We did flip the bar to get a feel of that the new one will be like, but other then that there is nothing much else we can do until the parts start showing up. So we put her back into the shed, said goodnight, and went inside to drink some more.
Stay tuned for next weekend when the parts are here...
Part Two:
Righto so more progress was made today, and since G-Man forgot his digi cam. I took the pics, ready here we go...
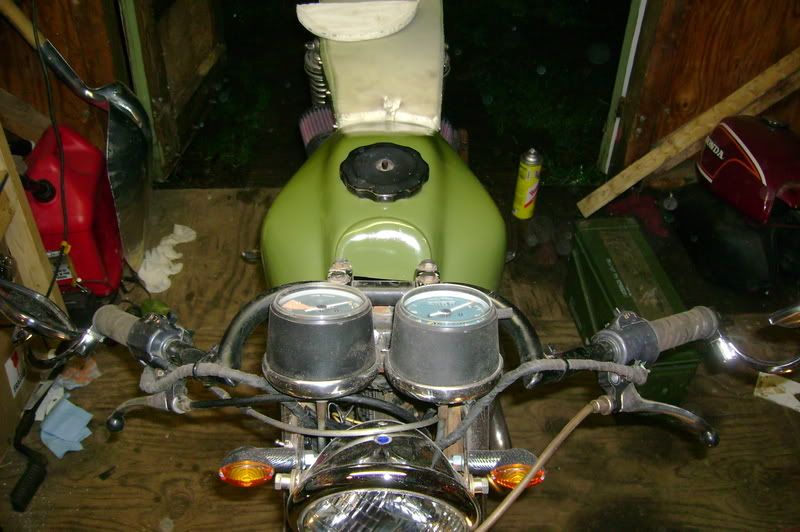
It was time to pull the levers and ditch the old style MX bar for the clubman, damn buttery soft bolts that hold the levers on got frozen, time for the angle grinder yet again.
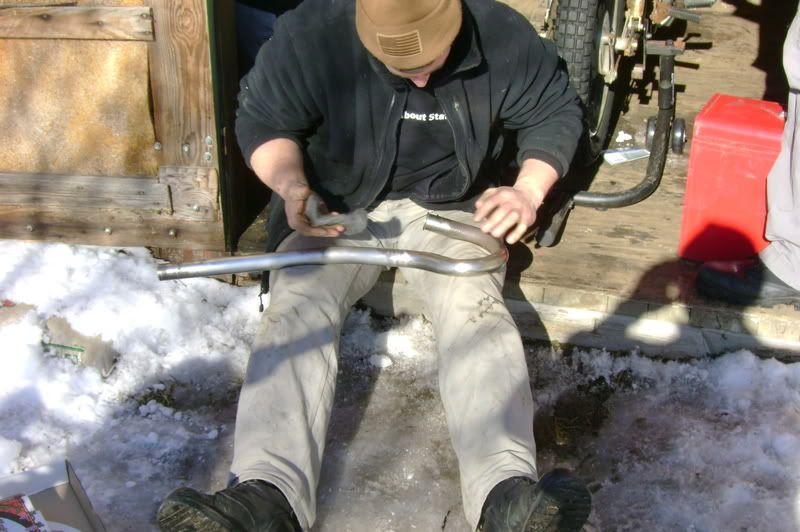
Time to clean the pipes before final trimming...
"This doesn't feel right"

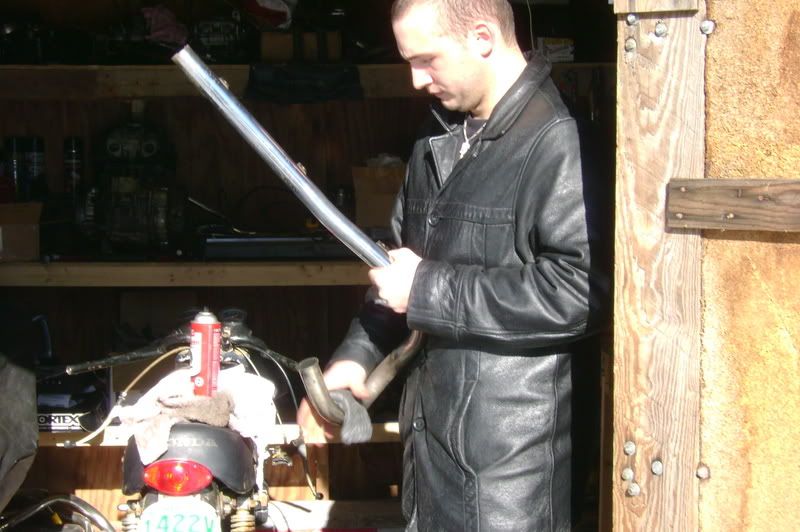
"I'm pretty good at this job, I've been training my whole life! "

Trimming up the top pipe a bit, these spark filled shots never seem to get old.
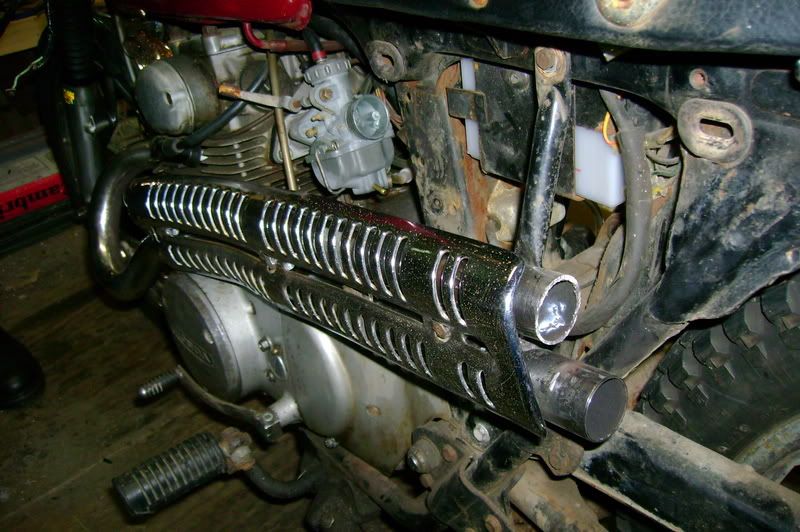
A nice stagger to the twin "free flow" pipes.
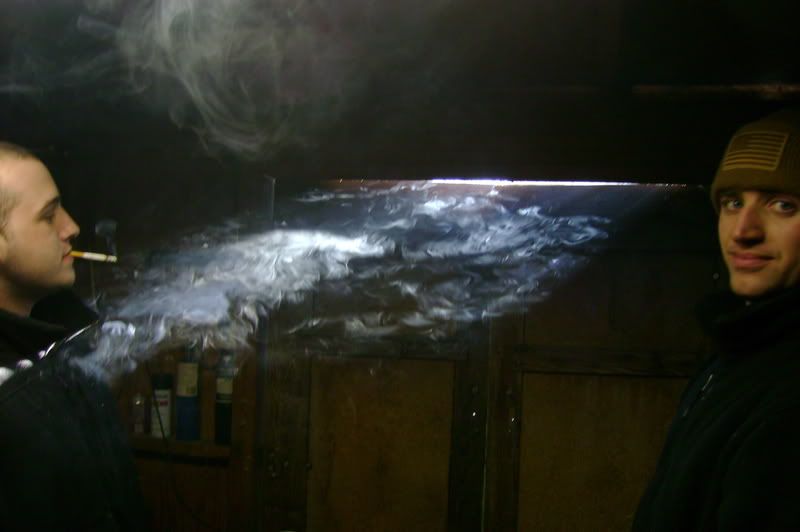
With it been cold as shit outside we opted to smoke out the shed and not waste any of the heat our poor space heater was trying to kick out.
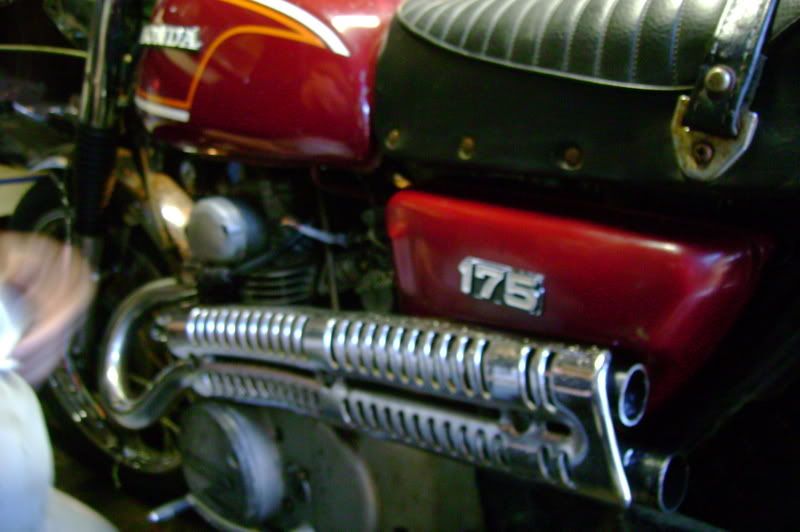
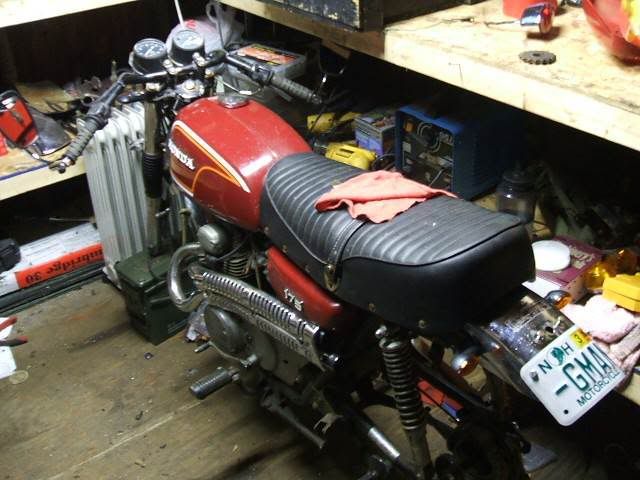
Another picture of the pipes but with the side cover in place.

The wiring mess as we swapped out headlights.
We would have took more pictures, but with cold the batteries in the cam were dieing like it was cool. As it stood when we locked up the shed we had the pipes sorted, all the lights worked, a Harley style 5in headlight was mounted, and the wiring was about half done. New turn signals are on order as well as all the other parts we are waiting for. And just to note the pipes sound evil, it doesn't sound like a 175cc twin at all. It's a very sharp clean sound, almost a race bike type note, not blatty at all. We'll have to see how the local law enforcement likes it. Oh and the whole endeavor was fueled by (well for me at least) PBR or pre-mix (Coffee with the German additive Jager).
Part Three:
I was at work, this was written by G-Man
Well, all parts have arrived... now we just need to put them all on. This will take place sat the 24th and it will be an excellent day. Today myself and Adam did some minor work to pass the time...
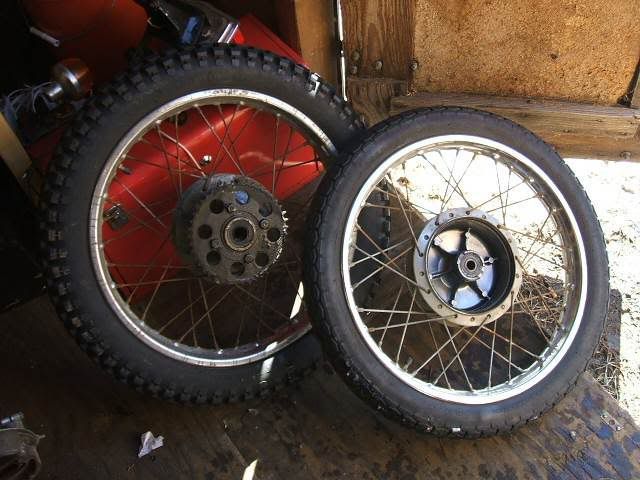
First off we took the old tires to the Suzuki shop to have them put on the new ones. They won't be ready till Monday however

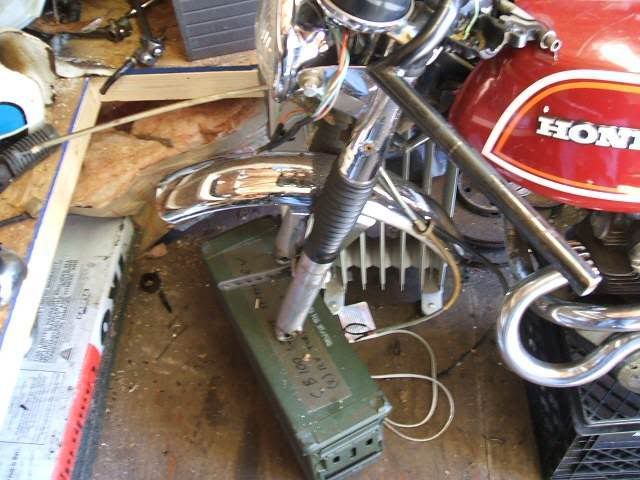
ahh ammo cans...is there anything they can't do?
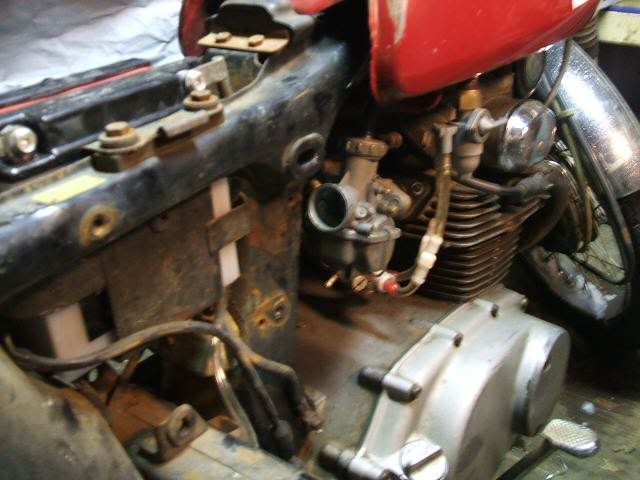
Next we tried to put on the pod filters... They wouldn't fit. This wasn't due to size, just location and direction of the carbs. Well a quick trip to Home Depot and some moxy and we were good to go.
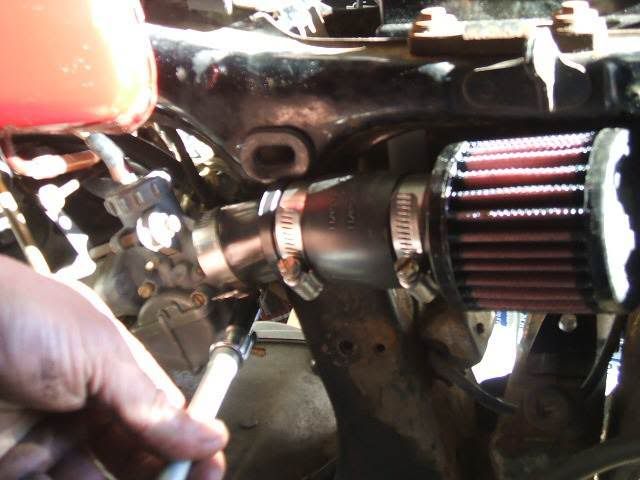
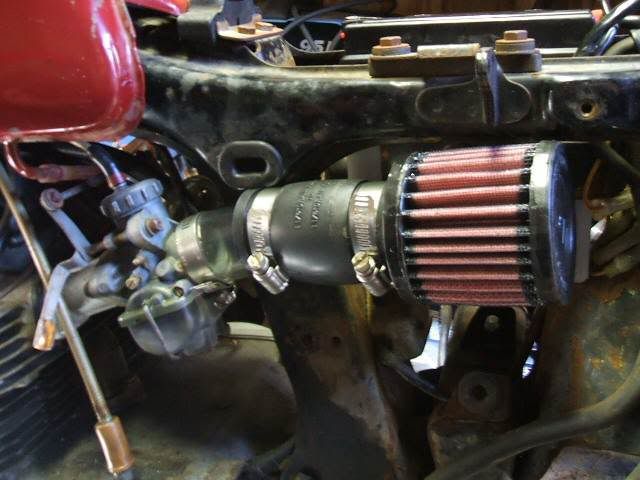
Surprisingly the side covers fit right over these bad boys. Terrific.
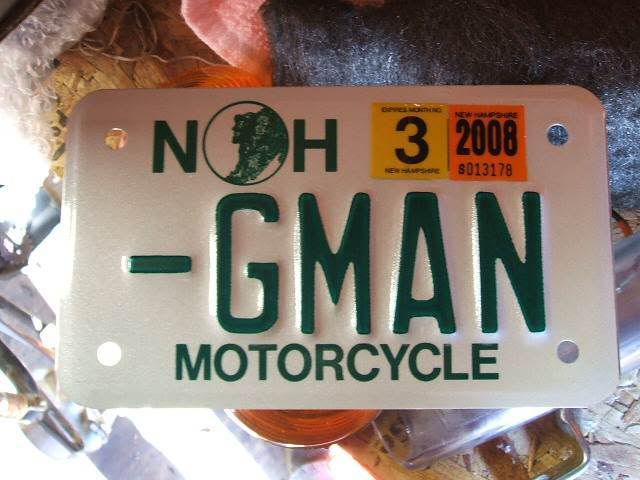
Also my plate arrived. Bought goddamn time... and some ass hammer already got G-MAN and some OTHER ass clown got GMAN...if I ever find them...
Tomorrow is the huge push... expect alot of pics.
Part Four:
Well, it's 99% done. All we need is to put the tires back on and remount the taillight bracket and then we can roll her out and ride her.
It wouldn't have been a good day if I hadn't busted out the angle grinder...

Part Five:
Today we will do the taillight and tomorrow i will grab the tires up from the Suzuki dealer. Then its done save for a few minor upgrades: need to purchase a front brake sensor for the taillight and slapping on some nice rear sets.
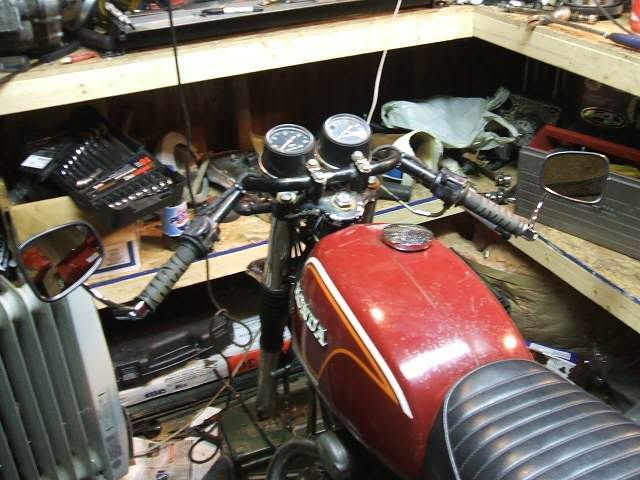
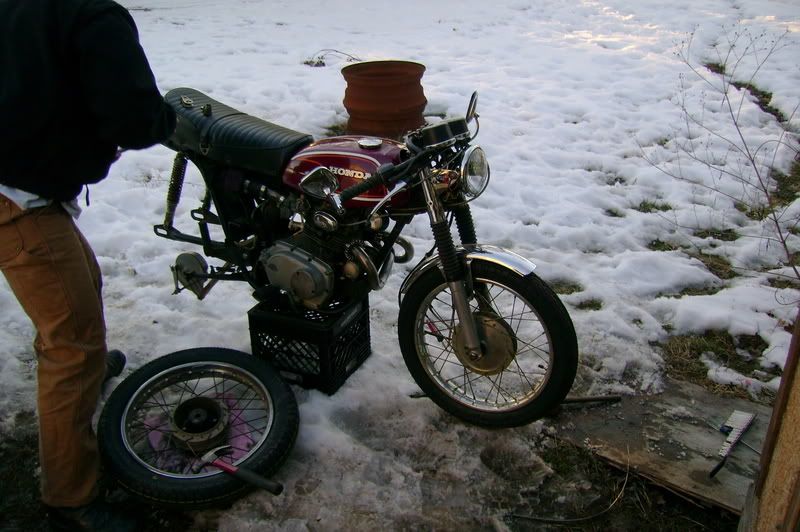
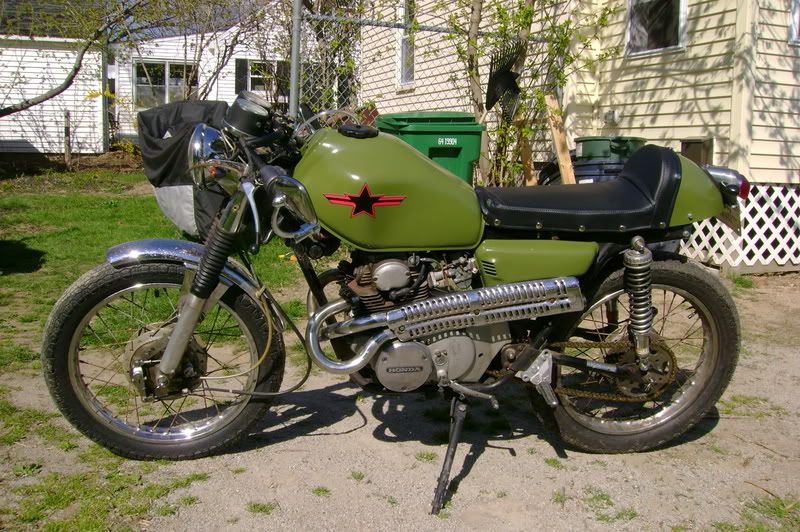
Righto, so she's back in on piece, we still have some small tuning issues to finish up, but this is how she looks after a few weeks in my workshop. I did manage to take a quick spin on it, she's loud, but feels like I need to mess a bit with the jetting (we did chop the pipes and put K&N pods on).
Getting the wheels back on, took the shop long enough to mount them (I was just to lazy to do it myself).
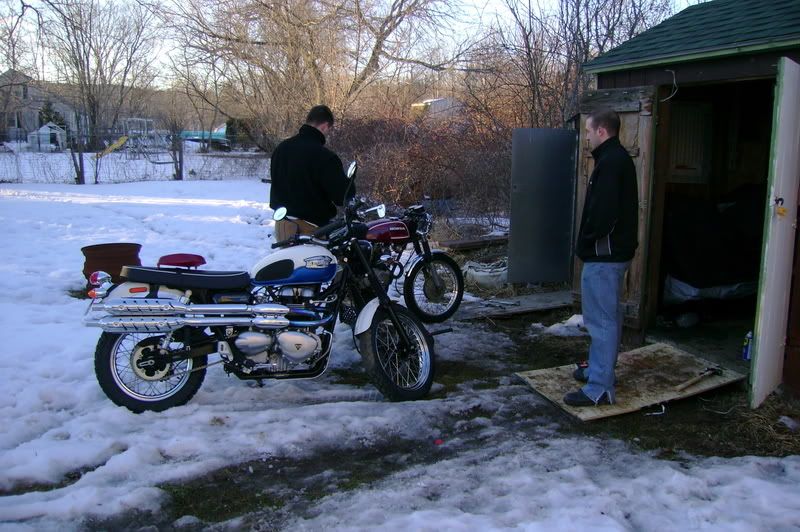
Two very nice machines, I can only imagine what the people next door think.
Done Sir, Done!!! (My other pics were blurry).
Part Six:
Written by G-Man again...
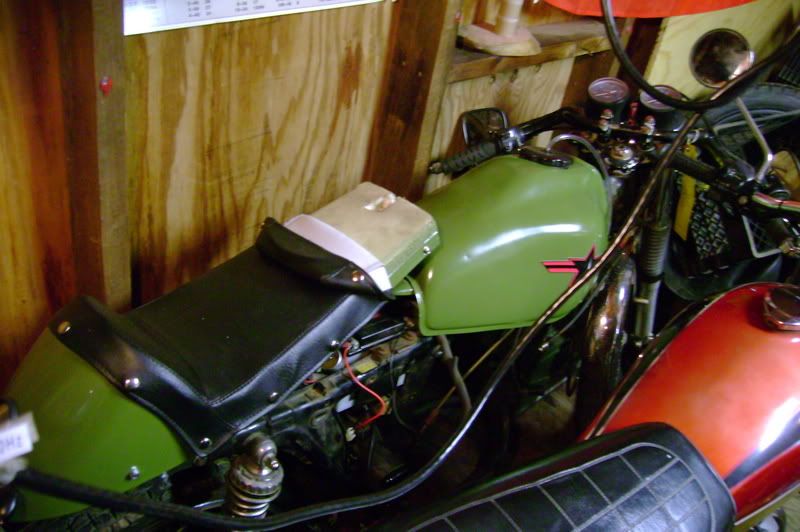
I got some more pics... this thing oozes sex. All that's left to do is some minor aesthetics such as replacing the current sets with rear sets, tuning her up, slapping on a kickstand, tracking down a front brake sensor and, eventually, putting on a solo seat and a paint job. But as of now she is ready to ride.
My nifty starter switch.
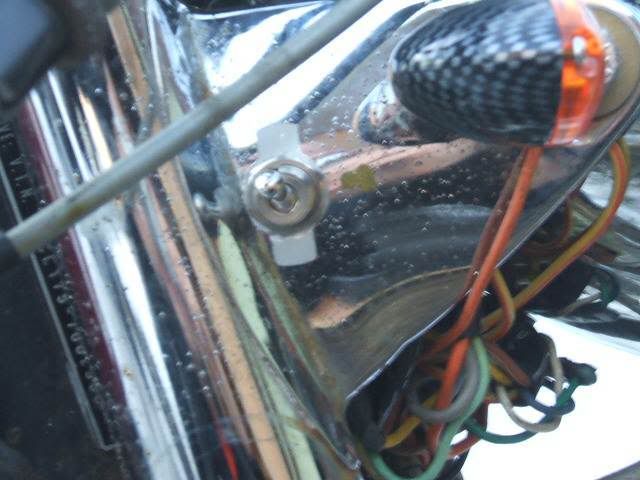

GOD DAMN... that's nice.
Part Seven: Not Really Done Yet...
| ||
For this fine machine parts have started rolling in like my humble workshop in a shed is a "real" shop. We are on a paint prepping spree, and I'm getting ready to start fiberglassing part of the front of the tank where the tunnel is since it sits much higher on the frame than it did on the proper 1979 XR250 frame. So now for the pictures of some of the yummy bits, there are some really sick fully adjustable rear shock off of a CB750 on the bike now, but I was too lazy to drag the bike out of the cold storage shed for a photo shoot at one in the morning.
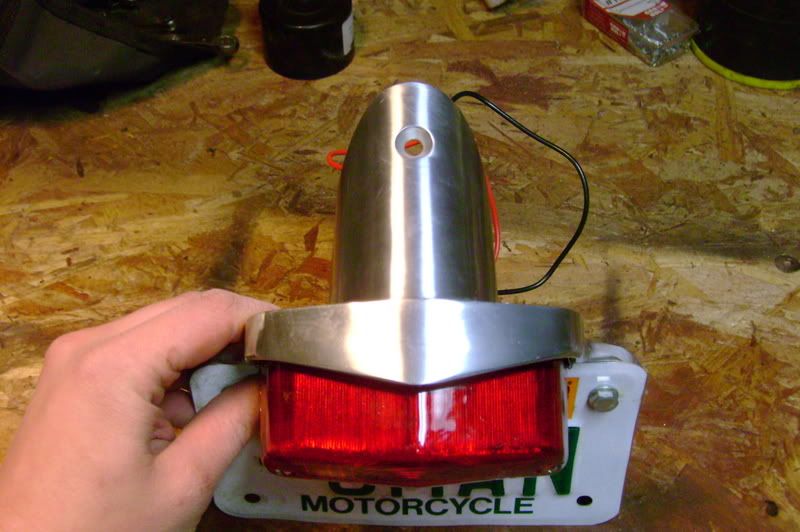
New Lucas style tail light
Another angle of tail light
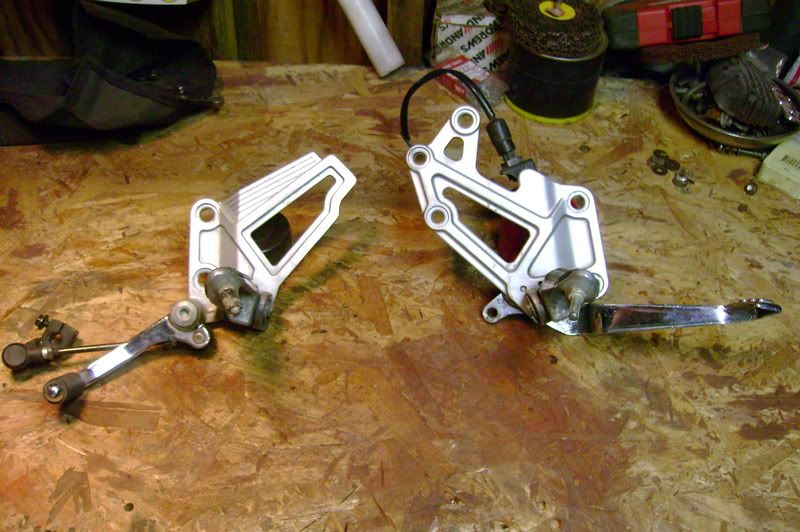
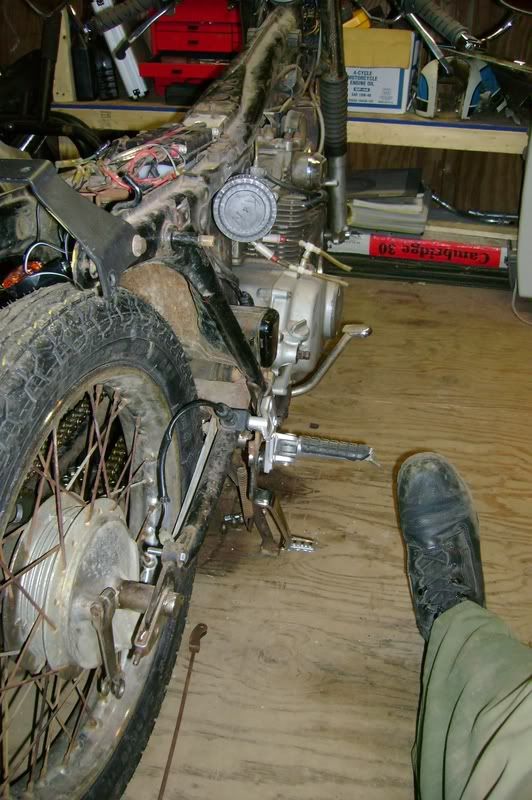
EX500 rearsets, they mounting holes on them almost line up dead nuts to the passenger peg mounts on the bike.

The rearsets after I gave them a little love with the angle grinder.
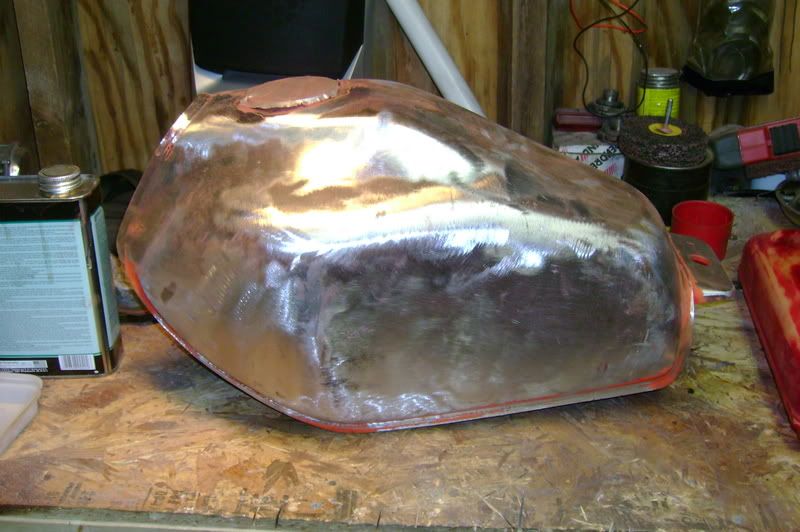
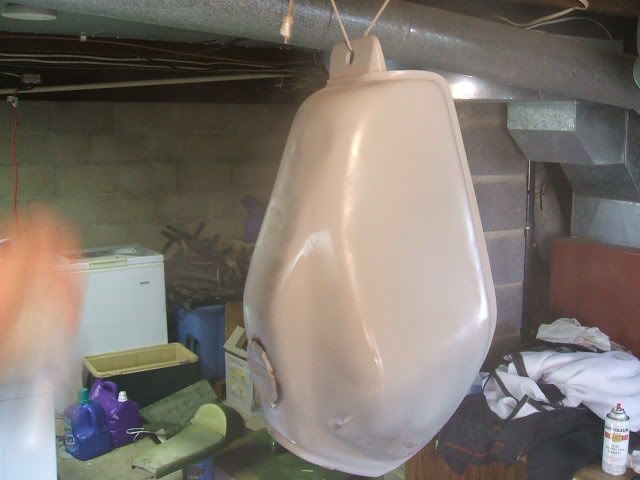
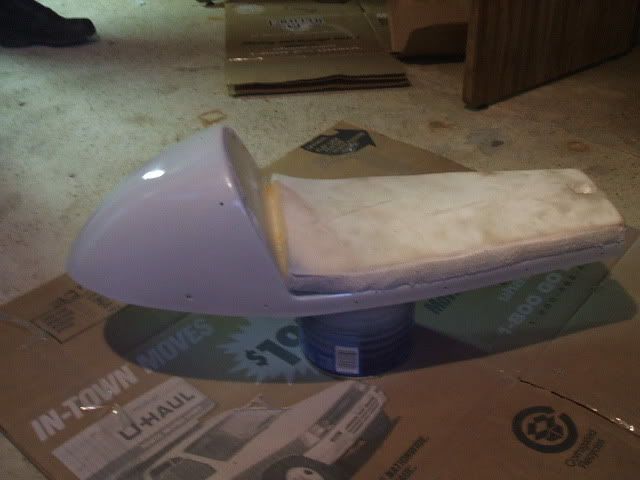
The tank all stripped waiting for glass and paint.

Another angle of its shiney self all sitting there, stripped naked.
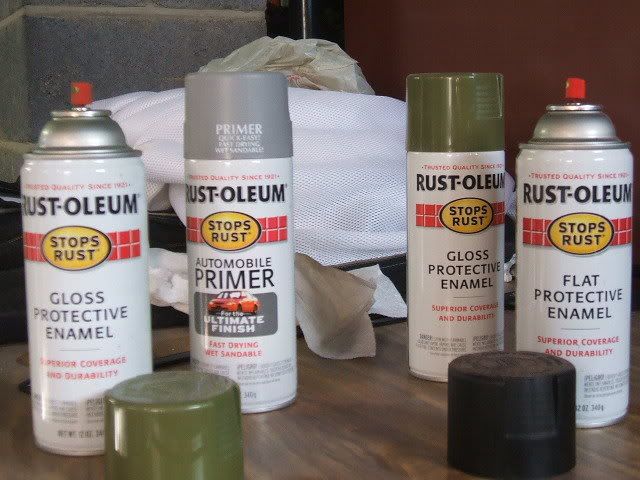
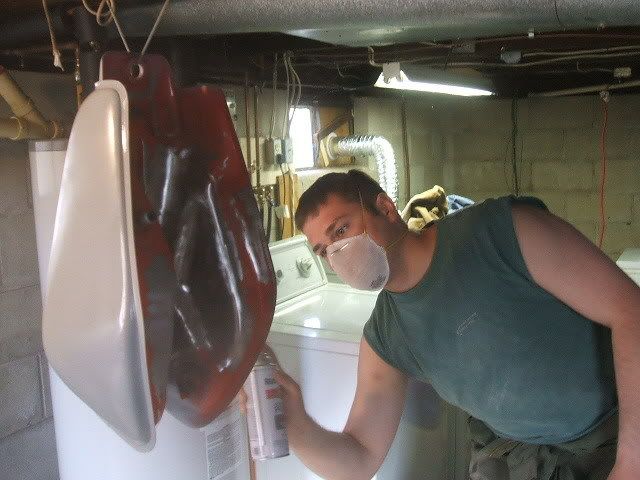
Here are the tools of the painting, classy with the Rusto...
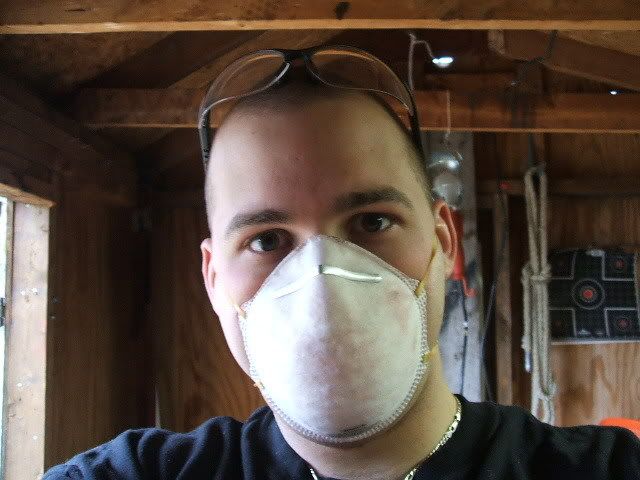
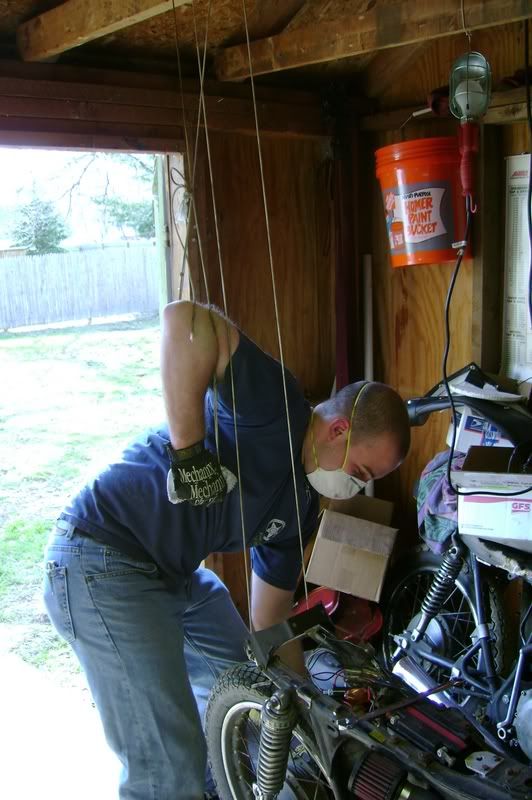
And here G-man is... Is he painting or molesting stray woodlands creatures?
Tank all glassed up.

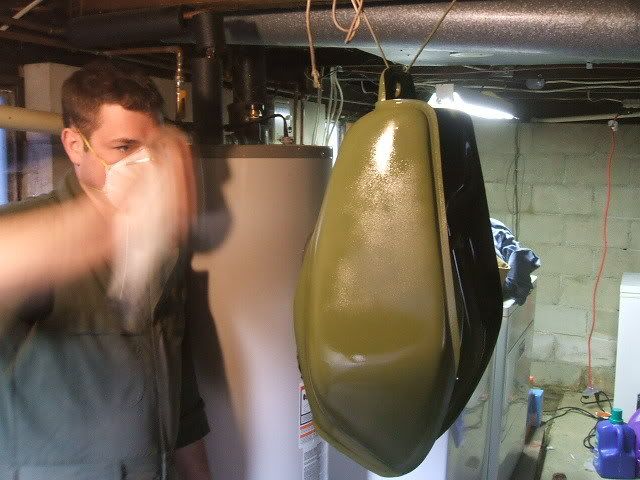
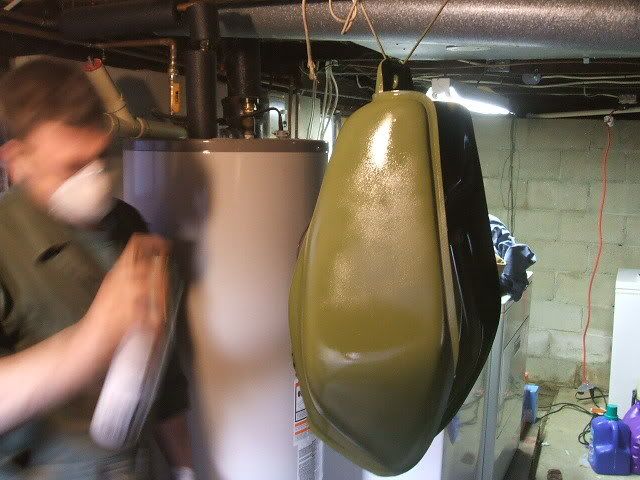
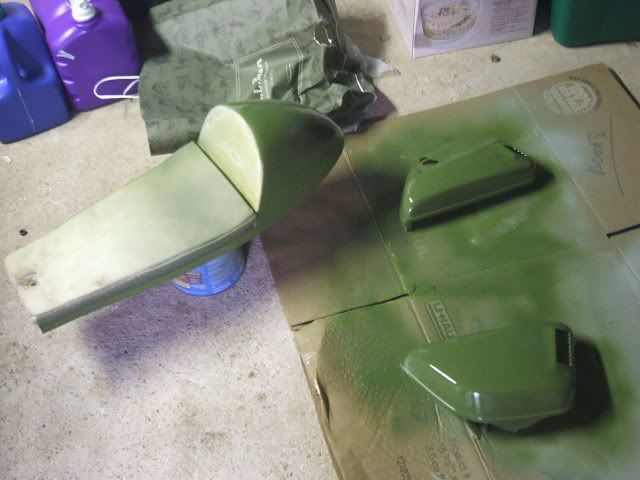
Tank being primed.
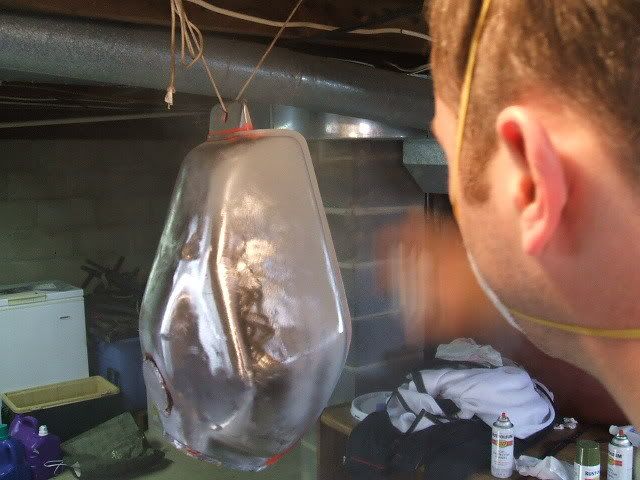

and painted
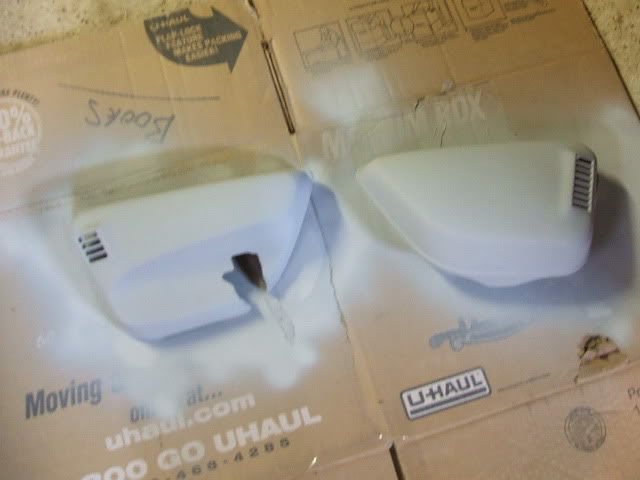
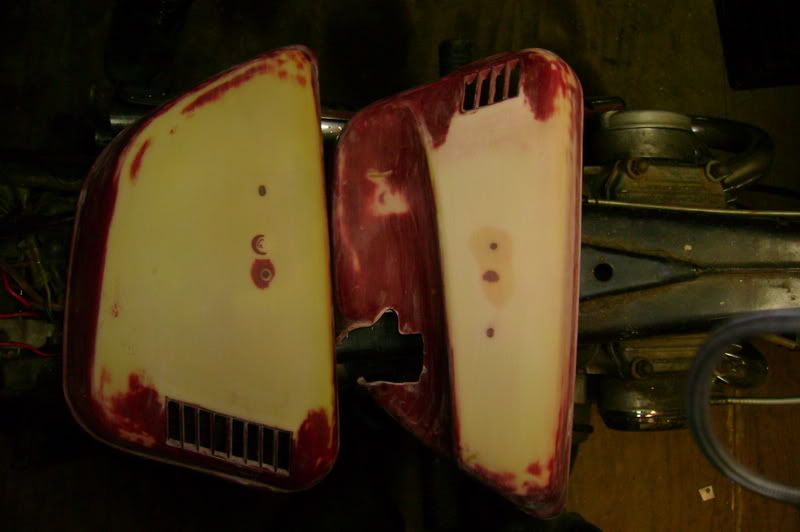
and here are the side covers and seat
Part Eight and One Half:
This is a product of too many cameras being used at once, didn't feel like fixing it.
Since we had two cameras out there the past few days, here are the rest of the pictures of out progress. We also managed to get the rearsets mocked up. We will also have to lengthen the kickstand due to the rear shocks being a bit longer than the factory ones were, but they are fully adjustable so its all good.
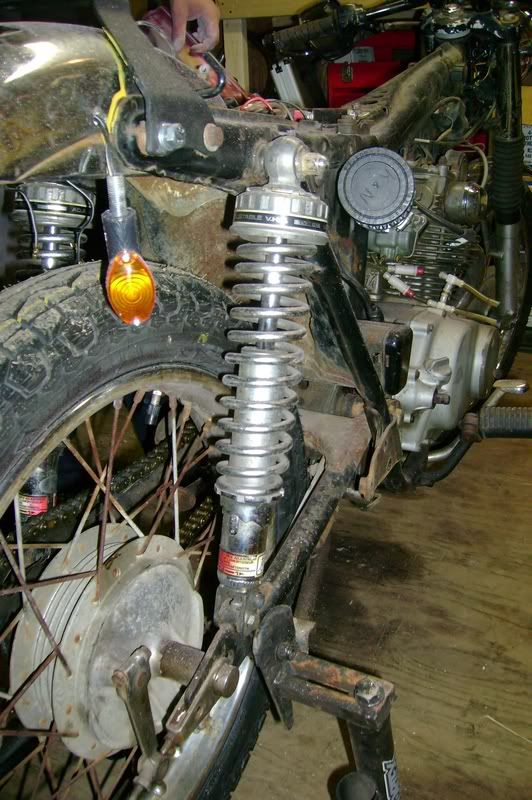
The new rear shocks.
The badge mounting holes all smoothed out.
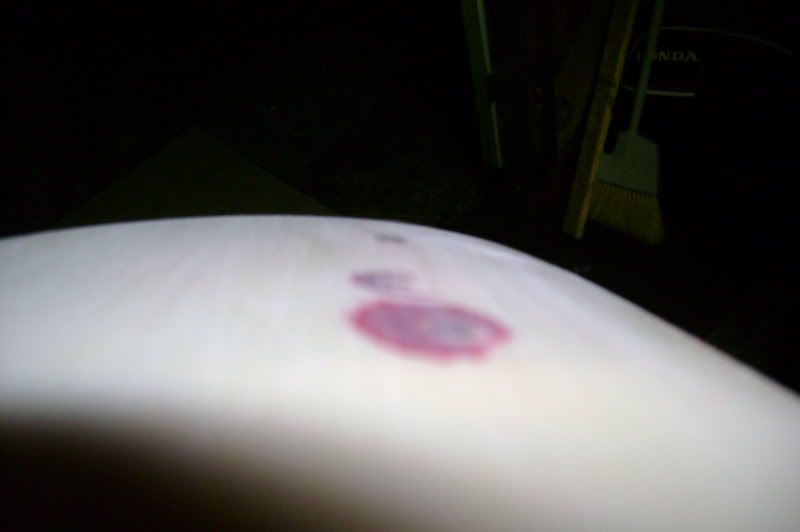
Mmmm smooth...
A super high-tech method to lift the rear of the bike...
The EX500 rearsets mocked up.

Another angle.

Now do we run a GP shift pattern, or find a longer shifter linkage rod and stay standard?
Part Nine:
All right I just finished putting in another good 4 or 5 hour block of work, hell this stuff is becoming a pretty good second job, well other than the fact that I get paid in booze, subs, and bike parts (well even that isn't that bad.) Anyways the shift side rearset is now bolted into place, we are going to run it with an upside down shift pattern for now till we find a longer shift linkage, this way we can start road testing and get the carbs in order. After we installed the new rear shocks (they are about 1.5in-2 in longer) we noticed the side stand was pretty much useless, hell the center stand didn't lift the back tire off the ground anymore. Since my poor super rat project has become a major league organ donor the kickstand was scavenged off of that, and it worked great. I don't feel too bad about doing this since on the super rat bike the added weight of the CB360 motor made that kickstand way too long. Anyways this kickstand is kinda special, I had attempted to cut it down a wee bit and re weld it years ago when I was still in Quantico, well I suck at welding and the welder I was using pretty much sucked as well (cheapo wal-mart arc jobbie), so I went to the scrap bin to find a sleeve. Well the sleeve is a chuck of gas tube from a M249 SAW, so I guess that will give G-Man some street cred points within the North East para-military cell. Fitting the rear light assy pretty much sucked, it is one of the plug and play jobs for the new Triumphs, and it is designed to go on a fender. The other thing is I have some commitment issues and I was drilling into the fiberglass tail cone, so I ended up doing some classy measuring with 550cord and prayed that I lined it up centered, I think its pretty close. The other issue that I will addressed later this weekend is the light body grounds itself, well fiberglass does not conduct well, so I'll have to run a wire for that, no big deal since half the wires were too short to reach anyways, time to break out the soldering iron. The tank looks pretty good, although I wish I glassed up the dent in it, but G-Man said he didn't care and really wanted to get it done, I'll have to live with it. The centerstand assy and stock rear brake had to be cut of since the were frozen to the pivot rod that they shared, so a few more pounds of dead weight to the scrape pile (note not thrown out, I almost never throw out parts, even silly things like cut up gas tank chunks). Well now for the pictures, I hope to get this done soon so Rock's bike can start getting some attention, then maybe mine...
The new tail light and turn signal setup, note that the tail section is not bolted into place, so I'm blaming any and all canting on that for now.
The "new" tank in fresh paint, the flash really makes the dent jump out.
A high front view, the top of the channel filled in and cleaned up pretty nicely.
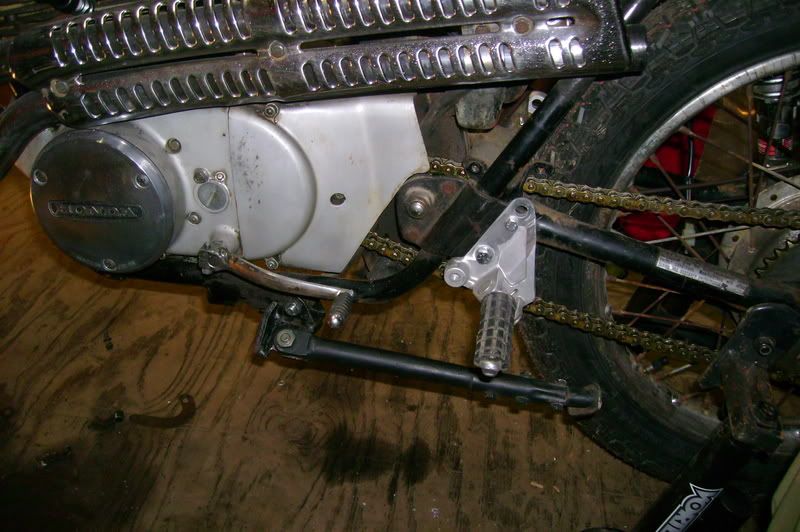
The shift side rearset as she sits now, the good people at Kawi were nice enough to have the shift lever pivot on a bolt so there is nothing in the way to run this set-up for now.
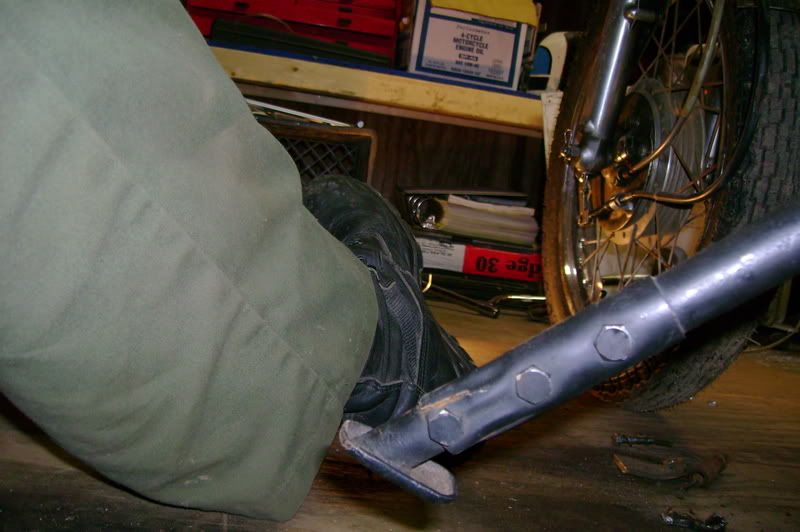
The kickstand with brace.

The other side of the kickstand.
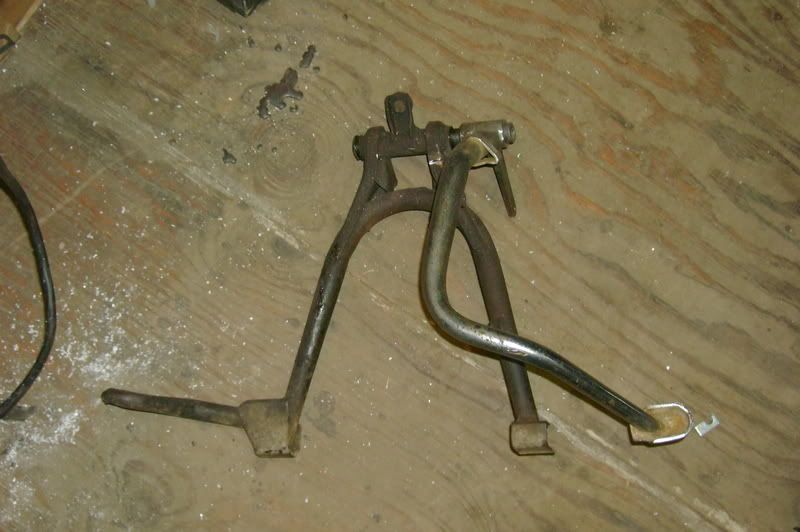
Some dead weight gone...
As she sat when I locked up the shed, I really like the new lines that tank brings to the bike.
Part Ten:
Here should be the final few pictures for this thread, the decals for the tank came in, we got it to idle ok, and G-Man took it home with him. The jetting will be tweeked a bit at some point, but is good enough for now.
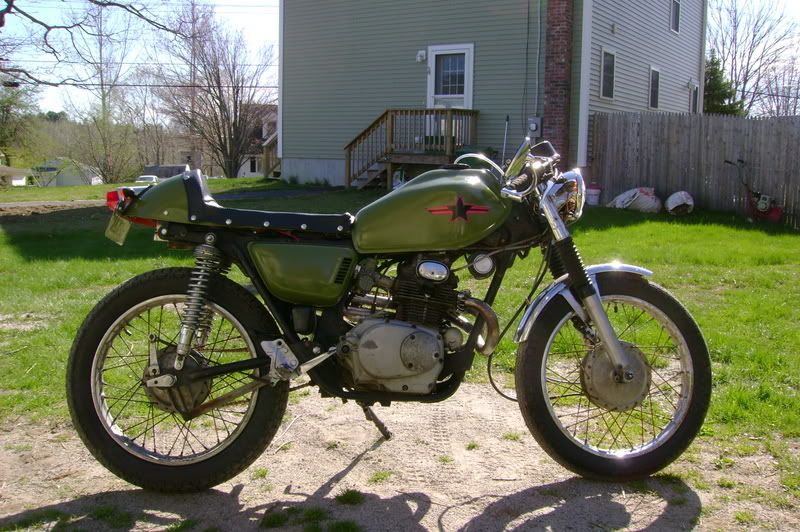
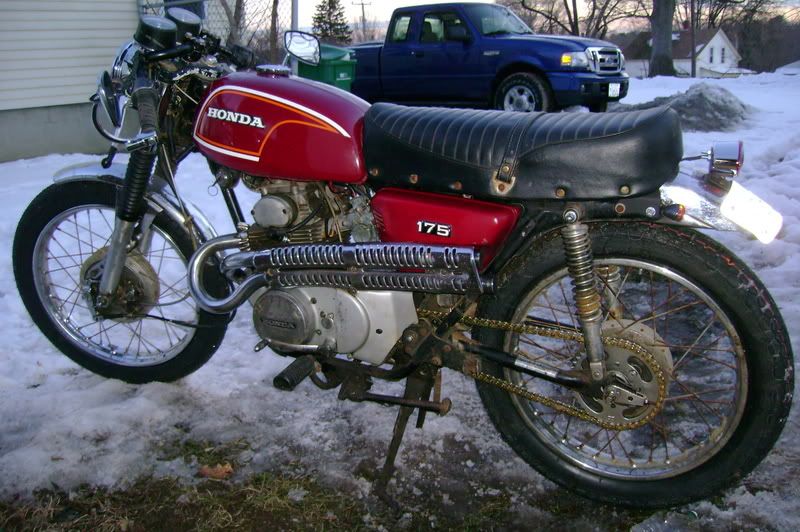
Right Side.
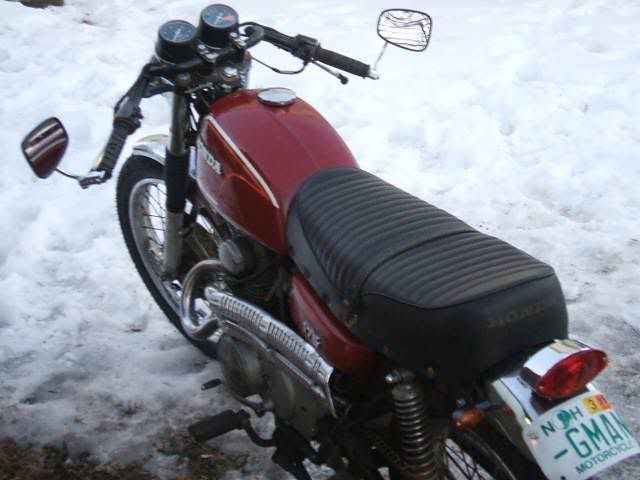
Left Side.

Getting used to the feel and control set-up.
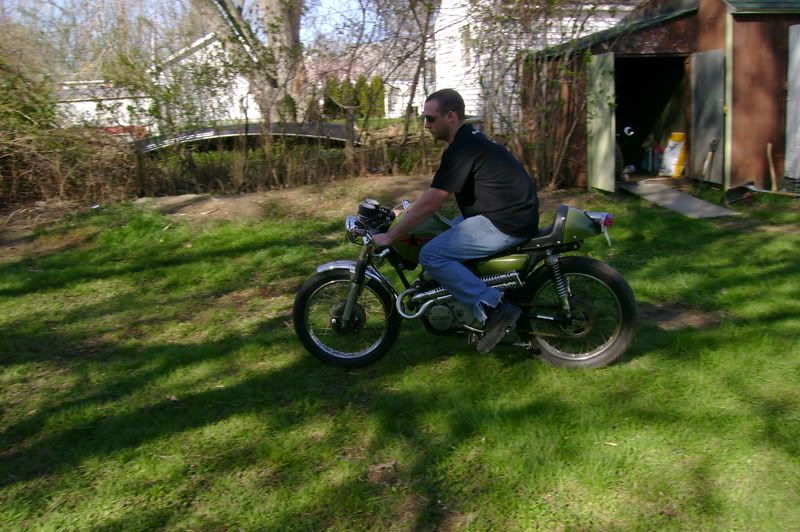
First ride for G-Man on his bike.
Part Eleven:
The head gasket was leaking on one of the cylinders, so that had been the real problem when I could never seem to get it tuned right. Honda has long since discontinued stocking the head gasket, and aftermarket ones just don't seem to exist either. After a few weeks of searching we found one place that has a N.O.S. one, we are still waiting for the guy to cash the check. Anyways here are some sad pictures of the broken dream that is currently this bike...
Guts ripped out and stuffed in a corner...
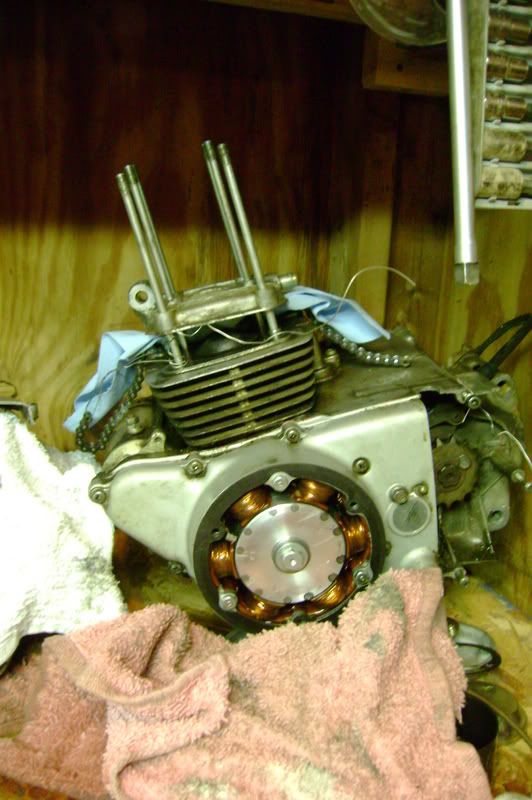
Waiting for rebirth...
Part Twelve:
We got the head gasket, installed it, and still had tuning issues. Part of which is the guy doing the tunning (me). Anyways the bike was going to go to a pro to do it right, and I figure its alot easier to tweek a carb in if we make other changes once we have a solid baseline. But no shops would touch it. So it was time to baffle the exhaust in hopes that would bring the exhaust (and in turn the carbs) closer to the stock baseline. It sorta worked, anyways here is what we did, if I had a lathe it would be alot nicer, but it works.

All the parts needed for a home made baffle system for straight pipes.
After drilling a hole in a plumbing cap and stuffing the copper rod into it.
Cross drilled 1/4 inch holes for the baffle effect.

Threaded holes for mounting to the exhaust pipe.

Exhaust packing...

Mounted up...

And from a little back...
Overall it sounds pretty good, and my attempts at tuning worked much better. Should be pretty close to finished now, maybe...
Your bike looks way cool. I just got a cl175 and your post is motivating me to start working on it. Thanks!
ReplyDelete